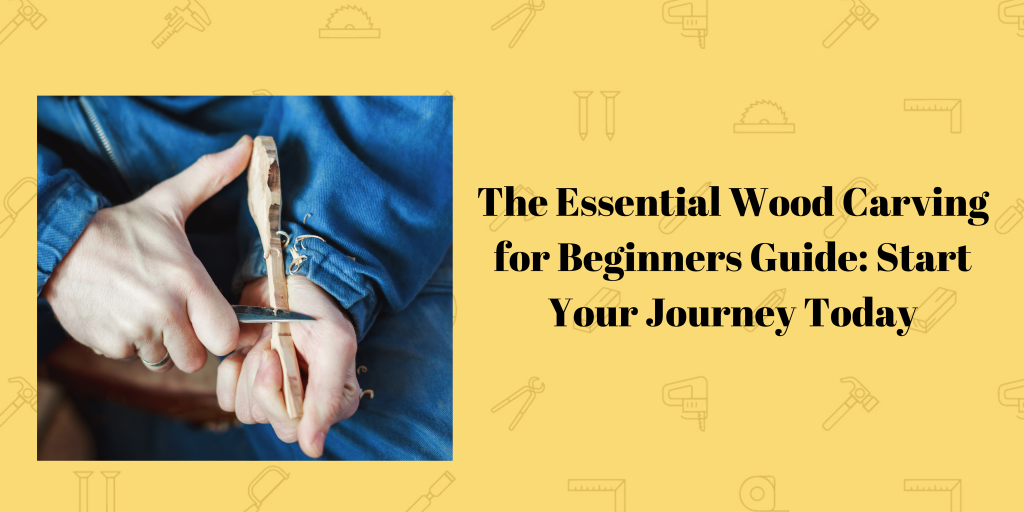
Welcome to our guide on wood carving for beginners. Where you’ll learn all about turning raw wood into magnificent pieces of art. Whether you’re an aspiring professional or looking to unleash your inner artist, this introductory guide will help you embark on your journey from a beginner to a master artisan.
Tips on Wood Selection When Wood carving For Beginners
As a beginner, you might think all wood is the same – this is a common misconception among newbies. But we’ll let you in on a little secret: wood comes in different types and has different characteristics. This makes each of them suited to certain projects. So, choosing the perfect wood to use is a little more complicated than “use whatever wood you have lying around.”
Think of wood selection as wood carving 101. To learn the art of wood carving, you must be able to discern between the different types of wood, as well as their characteristics.
What Wood is Best for Beginner Carving?
In woodworking, wood is divided into two categories: hardwood and softwood. As their names imply, hardwood is a lot sturdier than softwood. It is cut from deciduous trees and is dense and durable. Hardwood is often used to make furniture, flooring, and infrastructure. Conversely, softwood is medium-density and is used for lighter woodwork like windows and paper.
Softwood is more beneficial for beginners than hardwood. It is easier to carve with a knife and is more responsive to hand tools. Softwood is also more accessible, making it a cost-effective option. Softwood’s accessibility enables you to learn without the pressure of wasting valuable hardwood material.
Basswood and Pine are the best woods for carving. They are softwood and hold detail well, making them perfect for advancing your skills from beginner to intermediate level.
What are the Essential Tools Needed When Wood Carving for Beginners?
Having the right tools in your arsenal is essential to any successful wood carving project. It takes on extra importance for beginners, as wood carving can become tedious when the wood and carving tools aren’t in agreement. While there is an endless list of tools you’ll need on your journey to becoming a master artisan, some tools are more essential to the craft than others. Here is a list of tools to include in your wood carving kit for beginners:

Carving Knives
Carving knives are the primary tools used in wood carving. They are used to carve out the desired shape from the wood and create intricate details. Carving knives come in various shapes and sizes, each with its own functions. Examples include Sloyd knives, bench knives, and hook knives
Gouges
Gouges are special chisels used in wood carving. Their round-curved edge is designed to “scoop” out wood from flat surfaces. Like knives, gouges also come in varying sizes to enable the artists to achieve different caving depths.
Mallets
Mallets are another essential wood carving tool for beginners. Mallets are wooden hammers used to apply force to the end of knives, chisels, and gouges, enabling the artist to make deeper cuts o cut into stubborn wood. Mallets are available in various weights, so choose one that suits the size of your tools and the density of the wood you’re working with.
Safety Gear
Don’t forget about safety! As a beginner lacking finesse, there will be a lot of wrong cuts and flying wood. So unless you enjoy the pain of splinters and bruises, it’s best to safeguard yourself while carving. Always ensure you wear safety goggles, carving gloves, and a dust mask.
What are the Best Techniques Needed When Wood Carving for Beginners?
There are no strict rules to wood carving. It’s a broad art with various techniques and as a beginner, there are a few carving techniques suited to honing your craft before taking on more challenging tasks. Here are some basic techniques to get you started:
Chip Carving
As the name suggests, chip carving is a technique that involves chipping off small pieces from a piece of wood to create shapes and patterns. This technique is done by removing small chips of wood to form geometric shapes like triangles, diamonds, and squares. The final result is a uniform design similar to those often seen on wooden boxes, doors, and window frames.
Whittling
Whittling is the most common wood carving technique, chances are you’ve seen it before – probably on TV or in a book. If you’ve ever seen anyone use a knife to carve out a figurine from wood, that’s whittling. It’s the art of shaving off slivers of wood with a carving knife to form objects and figurines. Having a whittling knife is important when whittling for beginners. An expert might get by with any kind of carving knife, but as a learner, having a Beavercraft whittling kit in hand smoothens the learning process.
Relief Carving
Relief carving is often described as bringing wood to life. It’s a unique carving technique that involves creating a three-dimensional design from wood. Relief carvings look like they are rising from the ground despite being flat designs. This technique is commonly used for creating sculptures, architectural details, and decorative panels.
Chainsaw Carving
Next on our list is chainsaw carving – self-explanatory, right? Yes, using large chainsaws to carve designs into wood is a popular method of wood carving. So popular that game shows are held surrounding this skill. Chainsaw carving is not recommended as a go-to technique for learning wood carving (you might want to learn to control a chisel before a chainsaw). But, if you feel drawn to the craft, consider taking a chainsaw carving for beginners workshop where you can learn under a professional.
Spoon Carving
Spoon carving focuses on shaping wooden spoons and utensils using carving tools. It combines the practicality of creating functional objects with the artistry of wood carving. Spoon carving requires special tools like spoon knives and hook knives to carve out the hollow part of the spoon smoothly. Like whittling, spoon carving is also an ideal technique for novices to learn. But, you must have a spoon and hook knife as a regular wood carving knife might not do a perfect job of carving out the spoon’s bowl.
Wood Carving Safety Tips for Beginners
Despite all the benefits of wood carving, things can go south quickly if you do not pay attention to the basics of woodwork safety. I’m sure you want to remember your wood carving journey through amazing art pieces and not a serious injury. So, here’s some safety measures to ensure your interest in carving isn’t short-lived:
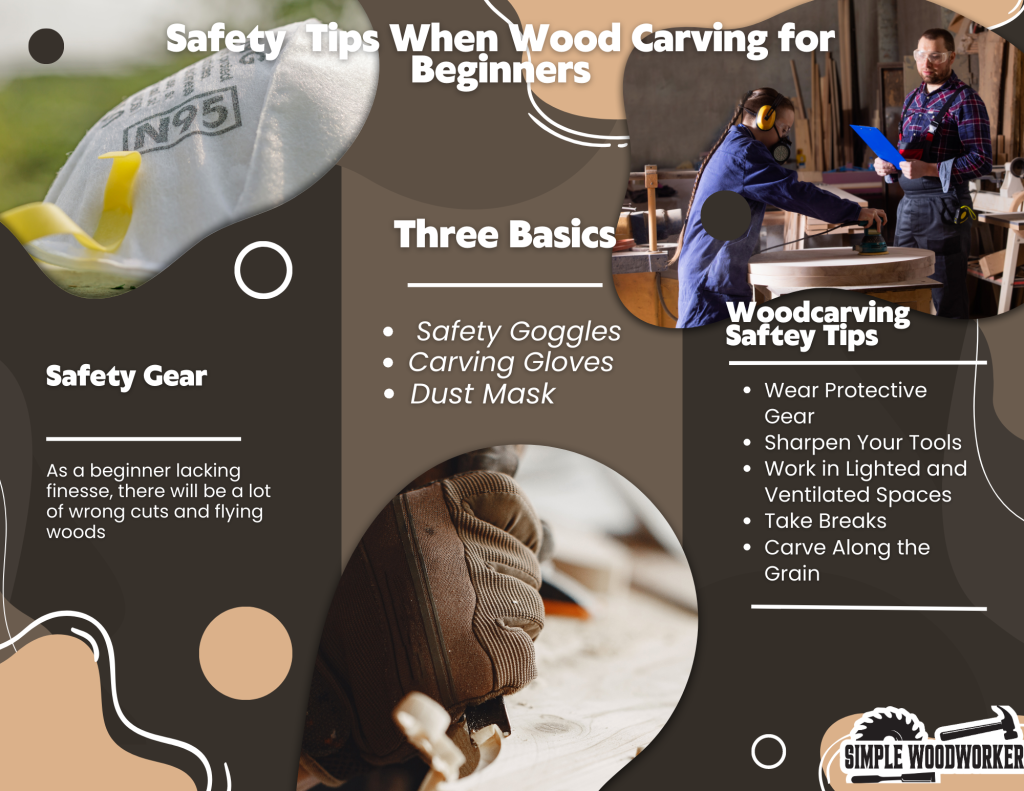
Wear Protective Gear
Protective gear is non-negotiable in woodworking. If you’ve never had blisters before, here is another secret: they hurt (a lot). And you also need to worry about inhaling dust and getting cut by your carving tools. For safety, invest in some eye goggles, dust masks, and cut-resistant gloves.
Sharpen Your Tools
This may sound a little contradictory, but a blunt carving instrument is as dangerous as a sharp one. It needs more effort to use which could lead to injuries due to excessive force. Keeping your tools sharp helps you control your cuts and reduce the risks of accidents.
Work in Lighted and Ventilated Spaces
Always ensure you work in a tidy and uncluttered space. If possible, have a workshop outdoors. Working in a dark environment increases the likelihood of workshop accidents.
Take Breaks
Wood carving can be a draining task if not done in moderation. Take regular breaks to avoid fatigue and increase sharpness while working.
Carve Along the Grain
It’s essential to study and understand the grain direction before carving. Carving against the grain can result in unpredictable and dangerous tool movement. Carve with the grain for smoother and safer cuts.
FAQ
How Hard Is It To Start Wood Carving?
Wood carving is a skill that improves with experience. It’s often challenging for beginners but becomes easier with practice. Using softwood and quality tools designed for wood carving can also smoothen the learning process.
How Long Should I Soak Wood Before Carving?
Soaking wood in water can help soften it and make it more suitable for carving. Generally, it is recommended to soak the wood for two days before carving. However, this is not the best method to soften wood as soaking wood can make it more brittle and lead to cracking. Instead, spray a 50/50 mixture of Isopropyl alcohol and water on the wood as you carve.
How Do I Preserve My Finished Wood Carvings?
Wood carvings, if left unkept are prone to fading and cracking. A few months old carving could look years old if it’s not properly maintained. To keep your carving looking clean and new, you must take preservative measures. This includes protecting it from sunlight, dusting it regularly with a soft cloth, and limiting the amount of times you handle it.
Conclusion
Woodworking is a unique and rewarding craft. In this guide, we’ve covered some of the fundamentals for you to embark on your crafting journey. Yet, there is still so much to learn about wood carving as an art form. Wood carving for beginners can be challenging as it is a skill that develops with practice. As long as you give yourself time to learn and maintain safety regulations, you will become a master in no time. Happy crafting!
*This post may contain affiliate links. Please see my disclosure to learn more.