Expertly stained maple wood isn’t something you see everywhere. It is one of those aesthetically pleasing pieces you’ll find in your great-uncle’s house. And yes, the one obsessed with antique woodwork.
Staining is a common, but tricky practice for reviving and protecting furniture. Like sandblasting, staining wood is an excellent way to bring life to maple wood. When dyed with the right wood stain, maple wood can give your home a complete facelift.
Read on to explore some useful tips to get you staining maple like a pro. We’ve also added a bonus section to save the day if you ever get stuck with uneven stains.
How to Stain Maple Wood Evenly
Staining maple wood isn’t just about the formula. To do a perfect job, you’ll need an extremely skilled hand and the right tools. There are three main steps to stain maple wood, but let’s explore the tools I use below:
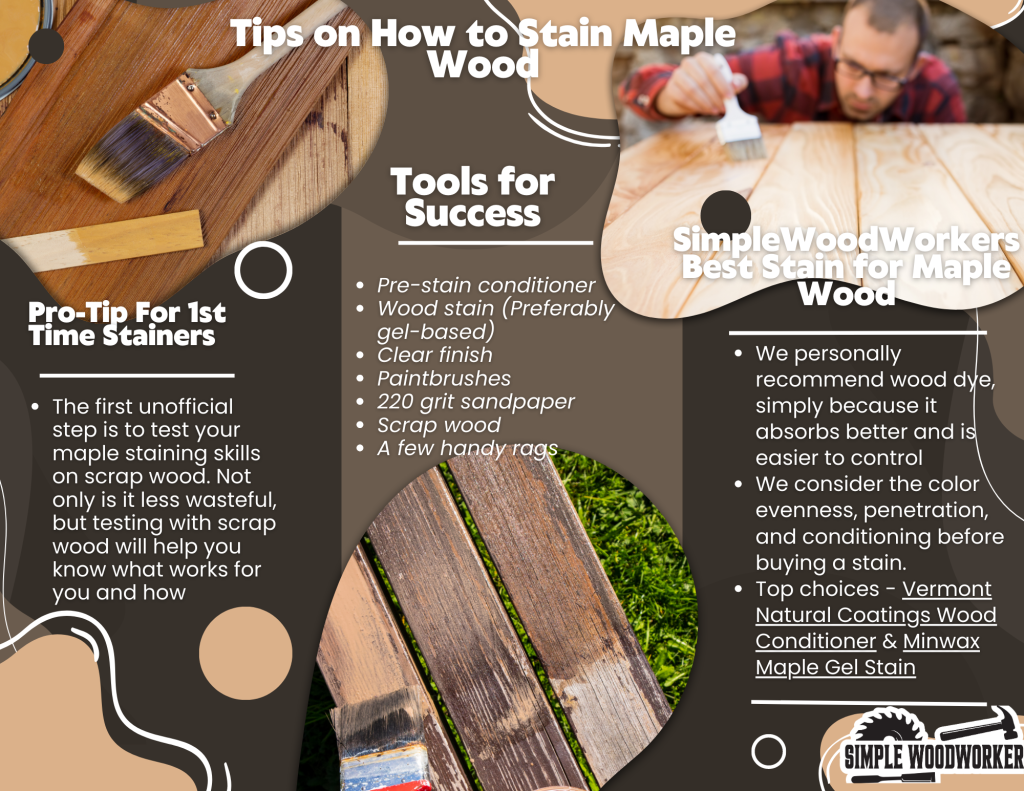
- Pre-stain conditioner
- Wood stain (Preferably gel-based)
- Clear finish
- Paintbrushes
- 220 grit sandpaper
- Scrap wood
- A few handy rags
The first unofficial step is to test your maple staining skills on scrap wood. Not only is it less wasteful, but testing with scrap wood will help you know what works for you and how.
Step 1
Start by sanding the maple floors with 220-grit sandpaper to help reduce stain penetration. Then, dust off the sawdust with a dry rag, and follow up with a damp one. The damp rag will expose any marks that can cause blotching, so you can sand further.
Next, seal the sanded wood by applying a thin layer of wood sealer with a paintbrush. Sealing is important because it helps to safeguard your furniture from water, wear, and pests.
Step 2
After a few hours, the sealer should have dried and it is time to apply the stain.
Remember those paintbrushes? Use one to evenly glaze the maple stain across the surface. While you can use multiple maple stain colors to fix potential botches, I’d recommend limiting them to just three.
The first time I stained maple wood, using too many shades landed me with a less-than-pleasant maple kitchen cabinet
Step 3
Assuming you’ve successfully dyed your floors, you should leave the stained maple wood to dry overnight. If you’d like another coat to correct blotches, make sure the previous stain has fully dried.
The final step is completely optional, but I always seal my stained maple wood with a polyacrylic finish. Think of it like the extra mile to protect your freshly stained maple furniture.

Is it Difficult to Stain Maple?
Staining maple wood for the first time can be pretty hard, or at least for me and practically every honest woodwork enthusiast I know.
Beginners and experts meet hitches all the time, and for pretty inevitable reasons. For example, maple wood has a naturally light grain pattern and density variation, which messes with dye absorption. So, the darker the dye or stain, the worse the blotches.
Luckily, careful prepping can help reduce the stain’s penetration into the wood. I’d also suggest you use wood dye because its smaller particles will better penetrate dense wood like maple.
To be fair, staining maple isn’t a very beginner-friendly project. But, you technically can’t fail unless you stop trying. So, grab a box of tissues and strap in.
Natural Maple Wood vs. Stained Maple Wood
The main difference between natural and stained maple wood is its aesthetic.
Natural maple is perfect for a space that enjoys lots of natural light. Its minimalistic appearance will pair well with a clear coat finish to create a countryside aesthetic.
Stained wood, on the other hand, is more modern and durable. Since you will seal the maple as you stain it, dyed maple will flaunt its new color for a long time. So, homeowners who choose stained maple are also choosing affordability and flexibility.
What is the Best Stain for Maple Wood?
The best stain for maple wood depends on who is asking. I’d personally recommend wood dye, simply because it absorbs better and is easier to control.
Everyone has a brand they swear by, but you should consider the color evenness, penetration, and conditioning before buying a stain.
Staining maple should enhance and preserve it, but its natural makeup can make it dry patchy, and blotchy. So, I’d recommend preparing the wood with this Vermont Natural Coatings Wood Conditioner.
Once the conditioner has dried, consider using the Minwax Maple Gel Stain to stain your maple. The great thing about this gel is its unique no-drip formula, made especially for vertical maple surfaces.
How to Fix Unevenness on Stained Maple Wood
If you’ve found yourself with some unevenness in your maple stain, then you’re not alone.
Even after following all the right steps, unevenness is a common part of the staining process, so you shouldn’t lose hope. Here are some useful tips I use to correct blotches in my maple floor stain:
Tone The Finish
The first option is to tone your finish by applying a coat of finish to the stained maple wood. Once the finish has dried, you can either spray a fresh pigment or layer on a gel stain. I’d personally use a gel stain, just because it is easier to work with,
You can tint the entire surface to even out the color differences, or only darken the edges of the surface to imitate a classic design.
Apply a Glaze
Glazing will create a slightly darker, more uniform look by reducing the contrast on your maple cabinet stain.
First, apply a wash coat of shellac, wait for it to dry, and gently scrape with 320-grit sandpaper. Then, wipe on your glaze to cover the majority of the original stain. You should notice a more uniform, dark maple stain.
Scrap and Restart
If glazing and toning don’t work, it may be best to strip, sand, and refinish your maple wood. Starting over can be discouraging, but it gives you a fresh do-over.
If staining gave you too much trouble the first time, you should consider coating with a clear finish. A clear coat will show off the maple’s rich hues without the hassle.
Here’s a lesson I learned the hard way: always test out your stain on scrap wood before your maple. Because maple stain colors are so slippery, you can save time and risk by first practicing on scrap wood.
Frequently Asked Questions
Does Maple Need to Be Sealed Before Staining?
Ideally, you should seal natural maple by staining it. It may seem like a tall ask, but staining maple wood protects it from damage and imperfections. Plus, it’ll help you fend off mold and mildew, pests, rain, and UV rays.
Think of staining maple wood as increasing its lifespan. With time, maple wood will lose its vibrance and slowly fade out. So, sealing your maple wood will preserve its color and avoid damage in the future.
When Should You Stain Maple Wood?
You should only stain maple wood when the conditioner and sealer coat has dried. Staining earlier than that will cause your kitchen cabinets to look blotchy and uneven.
Does Maple Wood Take Well?
The short answer is yes. Maple wood will stain well, as long as you carefully prepare it with conditioner.
What Color Stain Should I Use on Maple?
The best color stain for maple wood is undoubtedly the Minwax Maple Gel Stain. In my experience, its unique no-drip formula and composition deliver an even color. It is also perfect for beginner and vertical maple surfaces.
Is it Better to Stain or Paint Maple?
The best way to dye maple is to paint it with a brush. Compared to staining with a spray, paintbrushes give you more control over the process.
At The End of The Day…
No one can fault you for a messy maple stain. Dyeing maple wood is tricky for woodwork enthusiasts of all levels, so your attempt itself is a success.
Like all woodwork projects, perfectly stained maple wood demands patience and consistent practice. Luckily, you can’t go wrong with a correct conditioner and maple stain.
Have you stained maple wood before? Tell us your experience in the comments and share this piece with fellow woodwork enthusiasts!
*This post may contain affiliate links. Please see my disclosure to learn more.