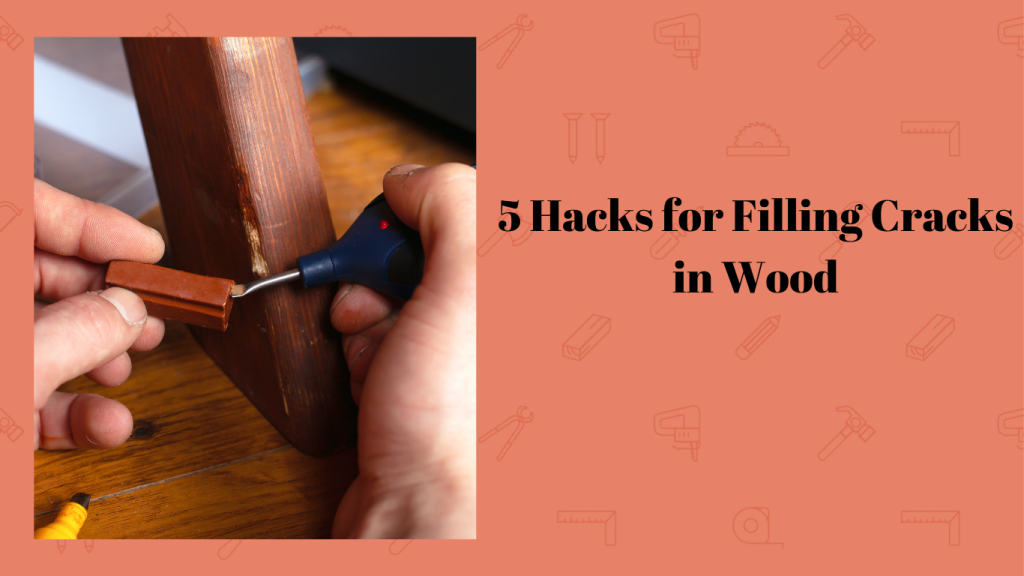
Welcome to our guide on how to make a woodworking bowtie. Woodworking bowties are a vital part of carpentry and serve an essential function in the workshop. This guide will take you through everything you need to know, from what they are to their uses and how to make them.
What Is a Woodworking Bowtie?
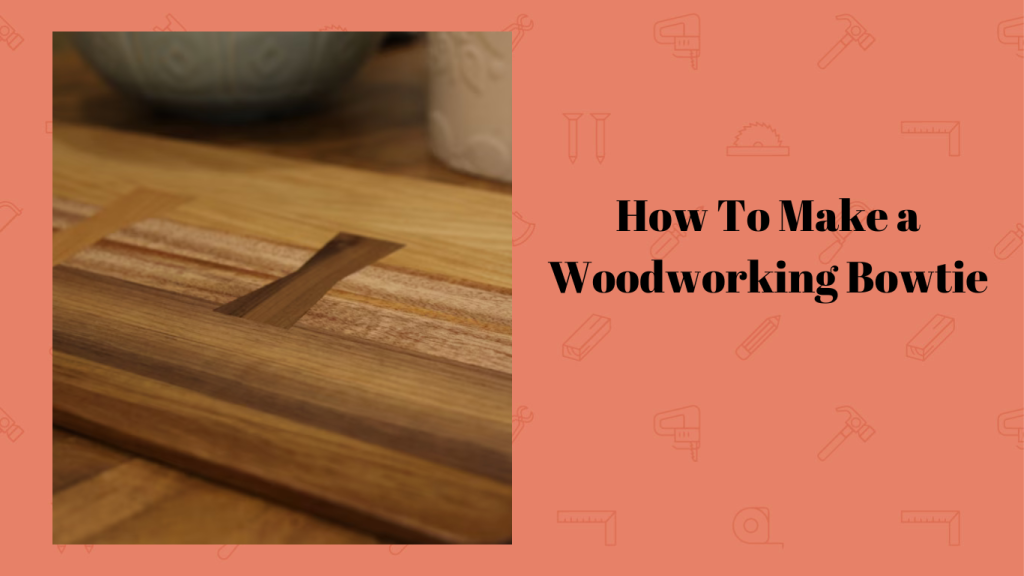
Woodworking bowties are pieces of wood used to reinforce cracks or split in woodwork. They are fairly simple structures, and you don’t need to be a woodwork artisan to make one. As the name suggests, they are shaped like the traditional accessory worn around the neck. The bowtie serves both functional and decorative purposes, but its primary use is as a reinforcer for damaged wood.
Functions of a Woodworking Bowtie?
Woodworking bowties serve several essential functions in the workshop. It’s mainly used to hold damaged wood together, but that’s just a simplistic view. Here are some of it’s uses:
Reinforcing Damaged Wood
As we said, the primary function of a woodworking bowtie is reinforcing weak wood. When a crack appears in wood, a bowtie is placed over the cracked area to provide structural integrity to the wood. The bowtie also prevents the crack from separating further. This is particularly useful in scenarios where replacing the damaged wood would be costly.
Provides Stability
Bowties are used to immobilize wood sections that are prone to shifting. In projects like furniture or panels, a bowtie may be put on their legs or arms. This is because these parts become shifty and may break once the woodwork begins to age. A bowtie secures it in place for longer and increases the piece’s lifespan.
Used for Decoration
Bowties also have an aesthetic appeal in addition to their functionality. Due to their butterfly shape, they can easily be joined together to form uniform patterns and designs on the surface of a woodwork. Some carpenters use bowtie inlays and different grain patterns to add contrast and dynamism to the overall appearance.

How To Select The Right Wood For Making a Wood Bowtie
Due to their essential functions both for stability and aesthetics, not all wood species are suitable for bowties. Here are the primary factors to consider when choosing wood:
Wood Density
Hardwood species are ideal for making bowties due to their strength and density. Bowtie wood should be able to withstand a lot of tension and compression without warping. Softwood species are likely to break under the stress that’s put on bowties. Popular choices for bowtie-making include oak, maple, and walnut.
Aesthetics
Bowties stick out like a sore thumb when they don’t blend in with the surrounding woodwork. Their distinct shape can make them look unappealing if they don’t contrast properly. Choose wood with a visually appealing pattern that enhances the decorative aspect of the woodwork.
Workability
While it’s important to use hardwood to make bowties, it’s also paramount that you choose wood that’s relatively easy to work with. This is because the butterfly shape of bowties can be difficult to carve accurately from sturdy wood. Choose wood with consistent grain patterns and moderate hardness to easily achieve clean and precise cuts.
Tools Used For Making Woodworking Bowties
Making the butterfly shape of a bowtie requires specific must-have tools. In addition to using the right wood, having the right tools also helps simplify the process. Here are some essential tools you’ll need to make a bowtie:
Bowtie Templates
Bowtie templates are cut-outs that help you create accurate and uniform shapes. Templates can be found and printed out online in various sizes and designs, or you can create yours from scratch.
Wood Glue
Wood glue is used to secure the bowtie in the channel it’s placed. Ensure you use a quality adhesive that secures the bowtie in place and doesn’t provide room for shifting.
Band Saw
Band saws (or coping saws as they are also called) are essential for cutting out the bowtie’s butterfly shape. They offer the required level of precision and control you’ll need.
Chisels
Chisels are used to carve out the channel where the bowtie will be placed. Ideally, you should have different sizes and types of chisels as you’ll be working with different types of wood.
Sandpaper
Sandpaper is used to smoothen the surface of the bowtie and the surrounding woodwork.
Clamps
Clamps are used to hold the bowtie wood joint in place while cutting out the shape. It also tightens the grip between the bowtie and the wood while the adhesive dries.

Step By Step Process To Making a Woodworking Bowtie
Once you have the right wood specie and the necessary tools in your arsenal, making your wood bowtie should be straightforward. Here is a detailed guide:
Step 1: Prepare the wood
The first step is to determine the size of bowtie you’ll need. Next, cut out a piece of wood from which the bow tie will be made using a coping saw. The wood should be a bit bigger than the intended size of the bowtie
Step 2: Create the bowtie shape
Use a bowtie template to mark out the butterfly pattern on the wood. Carefully use the coping saw to cut out the bowtie shape by following the marked lines.
Step 3: Prepare the channel
Place the cut-out bowtie on the woodwork and ensure it covers both sides of the split. If it’s for decorative purposes, mark out the shapes across the woodwork in a uniform pattern. Then use a chisel to carve out the channel with the marked area(s). Ensure it’s deep enough to accommodate the bowtie.
Step 4: Sand and finish
Gently sand over the bowtie, ensuring you pay attention to the grain pattern. Remove any tool marks around the edges, and try to remain gentle so you don’t bruise the wood. After sanding, apply a finish or sealant to enhance the visual appeal of the bowtie.
Step 5: Insert the bowtie
When the bowtie is done, apply some wood glue to the channel and backside of the bowtie. Insert the bowtie into the channel and make sure it’s well-fitted. Wipe off any extra glue that oozes out.
Conclusion
That’s it for our guide on how to make a woodworking bowtie. Now, you no longer have to panic every time there’s a crack in your woodwork. Following this step-by-step guide, you can make bowties to serve your functional and aesthetic needs.
*This post may contain affiliate links. Please see my disclosure to learn more.