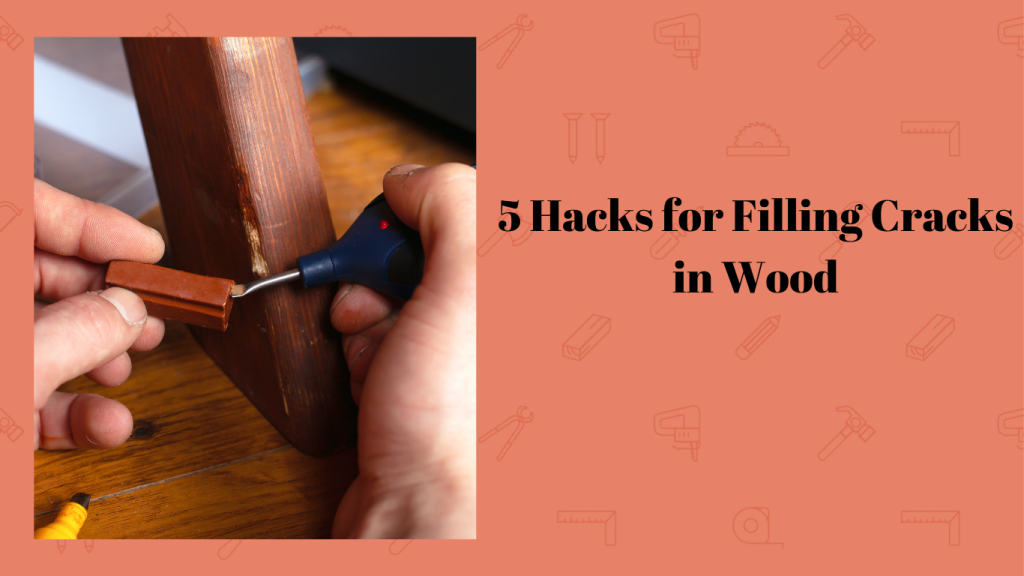
If you find you’ve reached the end of your wits trying to learn a simple way for filling cracks in wood, you’re not alone! Fortunately, you can use several cool, easy, and efficient methods to get those pesky gaps filled and forgotten.
Whether you’re trying to fix up a beloved piece of furniture, building your woodworking projects, or even staining maple wood, broken and cracked wood is always a problem.
This post will help lead you through a few options you can use as a crack filler for wood.
Here are five quick & straightforward hacks you can use to fill wood gaps and move on with your woodworking projects!
1. Use Sawdust and Glue for Filling Wood Cracks
One admittedly low-tech (but very efficient!) way you can get rid of wood cracks is by combining sawdust and glue.
Let’s give an overview of some steps you can take to use these items and get the job done:
Performing Checks in Wood
First, you’ll want to inspect the wood and perform basic checks in wood.
This inspection will ensure that you find all the cracks before filling and verify that the wood you’re using is of reliable quality.
Applying the Glue
After you’ve ensured the wood isn’t falling apart (a reassuring step!), you can use your glue to fill up any cracks.
The optimal technique is to squeeze the glue directly into the gap, though you might want to use a syringe if you’re dealing with more minor cracks.
Covering the Wood Crack With Sawdust
Lastly, you can cover the glue with sawdust to ensure the gap gets filled.
One crucial piece of advice to follow here is to pick a sawdust that closely matches the color of the surrounding wood. Otherwise, the filler will look entirely out of place!

2. Trying Out Epoxy
If you’re comfortable working with heavy-duty material, epoxy is a fantastic crack filler for wood.
Just follow the safety steps and carefully fill the epoxy; the last thing you want is a medical emergency on top of crack-filled wood!
Taking Safety Precautions
Epoxy can pose some health hazards, so before using it, make sure you:
- Wear a mask
- Verify you’ve properly ventilated your workspace
- Keep the area clear of people or pets
These steps will help keep your work area safe and healthy!
Mix the Epoxy
Once you’ve taken your safety steps, you can mix your epoxy.
To do this, combine equal parts of resin and hardener into a bowl, add wood-colored dye, and stir the components together.
Filling Cracks in Wood with the Epoxy
Now that you’ve got your epoxy mixed, you can use it for filling gaps in wood.
The easiest way to fill wood cracks with epoxy is to spoon the filler into the wood gaps with a small spoon.
You can always mix more epoxy if you see several more gaps in the wood to fill!
3. Wood Putty as a Crack Filler for Wood
Another excellent method for filling cracks in wood is using wood putty.
The main advantage of wood putty is the ease, cost, and availability of the materials you’ll use to fill the gaps.
Choosing the Right Putty
To start, you’ll want to purchase a putty that closely resembles the coloring of the surrounding wood. An appropriately colored putty will help make it look like there were never any cracks in the wood, exactly the impression you want to create!
Filling the Gap With Putty
After you pick your putty, you can apply it to fill any gaps in the wood.
The best way to use putty for filling gaps in wood is by pushing it into the wood cracks using your fingers.
Smoothing the Filling
Once the cracks are filled, it’s time to move on to smoothing over the filler.
For the best result, you’ll want to use a putty knife and flatten the filler as much as possible. This flattening will give the wood a clean, inconspicuous look and feel.

4. Using Filler Sticks
If you’ve never used filler sticks before, they are always a fantastic option to apply as a wood filler!
Luckily, filling gaps in your wood with filler sticks is similar to the method we described with wood putty.
Purchasing Filler Sticks
First, you’ll need to buy some filler sticks if you don’t have them in your supplies.
As with the putty, buying a color that closely resembles the wood of the area you’re filling over is best.
A great option to check out is Guardsman Wood Repair Filler Sticks
Use the Filler Sticks to Fill the Cracks
Now that your filler sticks are ready to go, you can begin filling in the cracks.
You may find yourself relieved at how easy this step is! Rub the stick over the wood gap, and you’re ready to continue to the final step.
Sanding Over the Filler
After waiting for the filler to dry, you can sand over the area to smooth it out.
All this last step requires is a bit of sandpaper; wear the filler down with the paper, and you should see a smooth area where the wood cracks used to be!
5. Filling Gaps in Wood with Premade Wood Filler
Lastly, buying a premade wood filler can skip any headaches or extra hassle.
While this option isn’t necessarily as fun as the others, it’s straightforward and will get the job done quickly!
Picking Your Wood Filler
The essential step with this method is choosing the best wood filler. Several excellent options are on the market, so it’s often a smart idea to compare a few choices before settling on a product!
For one option, check out Minwax Stainable Wood Filler, available on Amazon.
Tips for Applying Filler to Wood Cracks
Filling cracks in wood with wood filler is similar to some of the other methods we’ve already described.
Generally, you’ll want to fill the gaps (likely with a spoon or syringe), wait for the filler to dry, and then smooth the area with a putty knife. You can also use sandpaper to sand over the site for the smoothest results.
Final Thoughts
While covering up gaps in wood can be a troublesome experience, there’s no reason you can’t learn some woodworking tips and have some fun with your wood-filling hacks along the way.
If you follow them carefully, these five methods for filling cracks in wood can serve you well in many future woodworking projects!
*This post may contain affiliate links. Please see my disclosure to learn more.