Welcome to our guide on how to make a Kumiko jig. If you aren’t familiar, Kumiko is a traditional Japanese woodworking technique. It involves creating geometric patterns from thin strips of wood which are then used for decorations like latticework and shoji screens. To practice Kumiko, you need a Kumiko Jig and this guide will tell you all you need to know about making your own.
What are Kumiko Jigs?
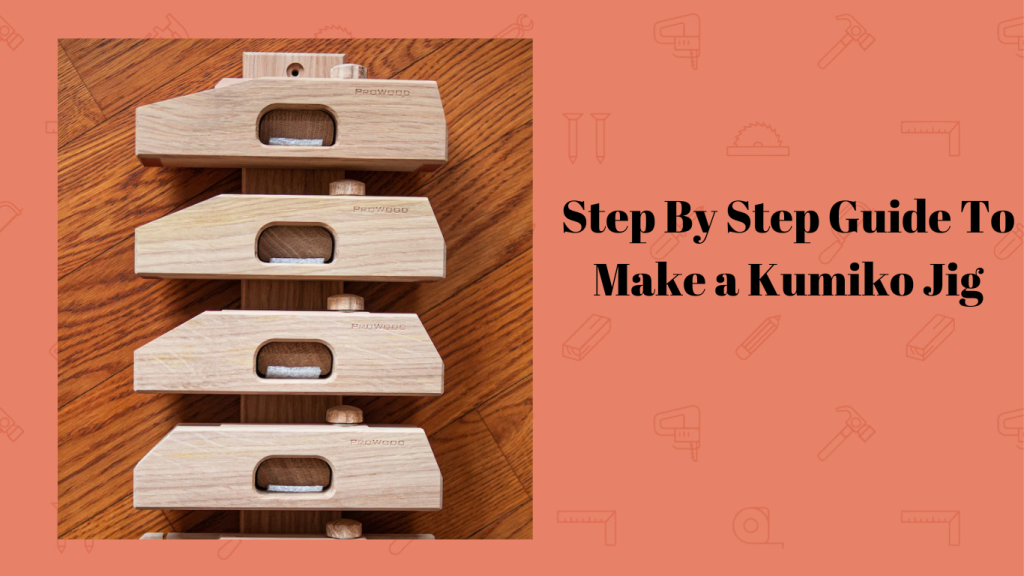
Kumiko jigs are specialized tools used to practice Kumiko. They assist Kumiko artists in making precise cuts by guiding the placement of the wood. Think of Kumiko jigs as guide blocks; they hold the wood in place so the woodworker can carry out intricate cuts. They are also shaped to provide equal and uniform measurements for each cut of wood. The Jigs make small cuts that may be difficult to achieve with a saw or chisel. This is perfect for making smaller wood objects like small furniture, decorations, and wood bow ties.
Components of a Kumiko Jig
So here’s a little truth bomb for you: Kumiko jigs are a bit difficult to make. There are many parts of the jig which need to be crafted to perfection for the tool to be effective. Each part more or less contributes to making the process more precise and even a small error will affect the functionality of the jig. Let’s break it down:
Base
The base is the foundation of the jig. It provides stability to the entire structure and is made of durable materials like wood or metal. Wood kumiko jigs are usually made with sturdy hardwood species to provide the tool with the required durability.
Fence
The fence of a Kumiko jig helps align and hold the wood in place during work. They help guide the woodworker to making consistent cuts and they are adjustable to accommodate different designs and patterns.

Stop
The stop serves a similar function to the fence; it helps ensure uniform and precise cuts. However, while the fence helps align the wood, the stop controls the depth of the cuts you make. Stops are also adjustable and are crucial in making intricate patterns on the wood.
Guides
The guide or sled is the channel where the cutting tool is placed. This channel is flat and provides a designated path for the chisel or saw to follow. They help eliminate worries of uneven or butchered cuts.
Best Wood For Making Kumiko Jigs
Kumiko was originally practiced using Japanese Cedarwood. But we don’t all live in Japan and who wants to deal with importation prices? So, let’s talk about alternatives. Kumiko jig wood needs to be sturdy and durable to withstand repeated use. Japanese cedar is known for having this quality so it’s only right their alternative should be a hardwood specie. Here are some popular wood used in Kumiko jig making:
Maple
Maple is known for its strength and durability, making it an excellent choice for jig construction. It is also relatively resistant to warping and has a smooth surface that facilitates easy movement of workpieces.
Beech
Beech is another hardwood commonly used in Kumiko jig construction. It has good structural integrity and is known for its resistance to wear and tear, making it suitable for long-lasting jigs.
Oak
Oak is a sturdy and durable hardwood that provides stability and strength to Kumiko jigs. It has excellent dimensional stability, making it less prone to warping or twisting over time.
Baltic Birch Plywood
Baltic birch plywood is a popular choice for jig construction due to its high-quality laminated layers and superior stability. It offers a smooth surface for workpieces to slide on and provides strength and durability to the jig.
High-density Fiberboard (HDF)
HDF is a dense and flat material that can be used for constructing kumiko jigs. It offers stability, resistance to warping, and a smooth surface for workpiece movement.

Step-by-Step Guide to Making a Kumiko Jig
Now you’ve gathered all the tools you’ll need, it’s time for the hard part: making the jig. To make a perfect Kumiko jig, you’ll need an advanced skill level in woodworking and some existing knowledge of Kumiko joinery.
Step 1: Gather your tools
There are essential Kumiko tools you’ll need to make a functional jig. These include:
· Markers
· Chisels
· Combination square
· Measuring tape
· Handsaw or bandsaw
· Router plane
Step 2: Design the Jig
The next step in creating a Kumiko jig is deciding on the jig’s design and dimensions. Sketch the desired layout and make room for adjustable features like the fence and the stop.
Step 3: Prepare the jig base
The jig base is the wood on which the entire structure is built. Use a tape measure and marker to mark out the length and width of the jig based on your design. Secure the wood with a clamp and use a hand saw to cut along the marked lines. Use a combination square to ensure the cuts are straight.
Step 4: Cut out the fence and stop
On the face of the wood, mark out the channel where the fence will be. Cut it out with a handsaw and gently sand it to make sure the edges are smooth. Next, cut out a stop with the appropriate measurements and insert it into the jig.
Step 5: Carve out the Guide channel
Next, it’s time to make a guide on both sides of the fence. Use a router plane to create tow guides on each side and ensure they are smooth and equally aligned.
Step 6: Assemble and test the jig
Now, all the components of the jig are complete. Places a piece of wood onto the fence of the jig and test it out. Make sure the structure works smoothly and there is no loose wood that may distort the cutting process. Make any necessary adjustments.
Step 7: Apply a finish
Once you’re sure the jig is fully functional, apply some wood finishing to it. This could be some wood oil or paint. Allow sufficient drying time and your jig is finished.
Conclusion
That concludes our guide on making your own Kumiko jig. If you’re in the mood for a Kumiko DIY project, this guide tells you how you can build your jig in a few steps. Remember, woodworking is a lot easier said than done, and making your own Kumiko jig will undoubtedly be challenging on your first try. But practice makes perfect, as they say. Good luck!
*This post may contain affiliate links. Please see my disclosure to learn more.