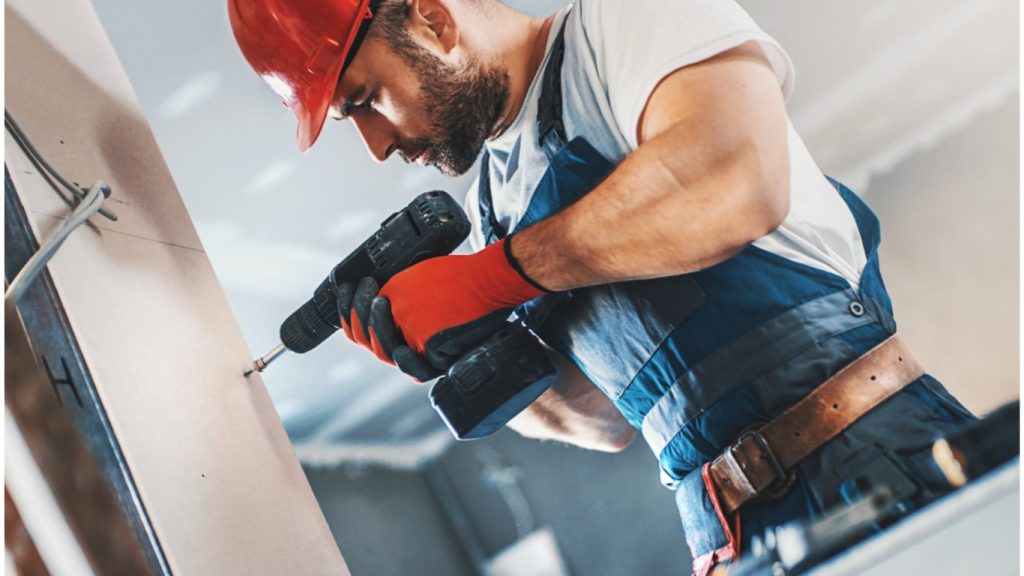
The correct drywall screw spacing prevents the screws from coming loose over time while creating a smooth, flat surface. The drywall may flex if you space the screws too far apart and the edges will crumble if the screws are too close.
I’m a DIY enthusiast who started hanging drywall before big home improvement blogs were a thing. I naturally made a lot of mistakes with the drywall screw spacing, and my knowledge of filling screw holes in wood came in handy for repairing my botched trim. Now, however, I’ve done enough installations to know the winning tricks for getting a flawless finish.
Before writing this article, I dug out my home improvement journal, where I documented my experience with various drywall installation tips. I’ve gathered 8 tips that have saved my projects.
Dig in.
8 Helpful Tips for Flawless Drywall Screw Spacing
1. The Location
Where you hang drywall determines how much load it is subject to and the screw spacing you should use. For instance, walls don’t face much vertical force, so I space them anywhere from 12 to 24 inches. However, ceiling drywall screw spacing should never exceed 16 inches to provide enough support to withstand gravitational force.
Likewise, special use cases like load-bearing walls need tighter screw spacing for extra support. So, I space non-load-bearing walls as far apart as 24 inches but don’t exceed 16 inches for load-bearing walls.
2. Its Size and Thickness
The size and thickness of drywall sheets determine the number of screws needed to secure them to the framing material. Standard 4’x8’ panels need four screws on the five middle studs and six screws on both sides, totaling 32 screws. This spacing prevents my drywall from lifting at joints and ensures a smooth finish.
As a rule, heavier sheets require more screws to support their weight and prevent cracking. So, a 4’ x12’ and ⅝-inch thick sheet will need 60-72 screws.

3. The Screw Pattern
A joint is a junction where two drywall sheets meet and the weakest part of the installation. So, staggering is the best screw pattern for drywall because it helps me create T-shaped joints that are less visible and easier to conceal with paint or wallpaper.
Staggering also creates a random pattern that helps disrupt potential cracks from continuing across the length of the wall or ceiling. I also make the sheets perpendicular to my ceiling joists to strengthen the installation.
4. The Adhesive
When hanging drywall, you can use adhesive to hold it firmly in place and cut your fastener use. So, many DIYers love adhesive because it creates a rigid finish and cuts costs from purchasing screws.
While I admire the refined finish, I’m not an adhesive fan because it is messy and I can’t remove or adjust the sheet after gluing it in place. However, using glue can still help soundproof the space by creating an airtight barrier while being a quicker overall process.
5. The Wall Framing Material
Your choice of framing material will differ in terms of durability and load-bearing, impacting your drywall installation long term. Wood studs are stronger than metal studs because they are thicker and heavier, so they work best for load-bearing walls. However, they are subject to mold, rot, and pests.
Contrarily, metal studs are cheaper and weaker, but they last longer and require less maintenance. Metal studs will also fare better in a difficult fire.

6. Humidity and Temperature
Hanging drywall in the wrong climate condition can easily throw the project off course. The joint compound, or mud, requires 65 to 80F and a relative humidity of 30 to set and dry properly.
I pre-condition the site to allow a gentle breeze to flow through the room because humidity slows evaporation and drags out the drying process. 75F is usually my happy medium, and if I finish the installation by 5 pm, it’ll be bone-dry by 8 am.
7. Gapping
There are different opinions on the appropriate gap size between drywall sheets and the floor, but nearly all installers agree on the gap’s importance.
When drywall sits directly on the floor, it absorbs moisture over time and becomes moldy. The gap helps ventilate the wall cavity and dry out any leaks, keeping your drywall damage-free for longer.
8. Local Building Codes
Local building codes specify guidelines for the drywall screw distance and number for every state.
Not complying with these codes can incur fines and penalties, and rectifying a violation consumes lots of time and resources. So, follow your state’s guidelines rather than general rules.
Nailed It
Drywall screw spacing can make or break your project because it’ll determine the appearance and longevity of the installation. Hanging drywall is no joke, so it is essential to nail the tools, factors, and specifications as best as possible.
Thinking of hanging drywall? Your framing material will decide how well it’ll hold up. I use plywood, the woodworker’s heartthrob, to fortify my walls, and I’ve written a lighthearted plywood guide to teach you about it. Be sure to read it!
Frequently Asked Questions
What is The Maximum Stud Spacing for Drywall?
The maximum drywall screw spacing for walls and ceilings is 24 inches and 16 inches respectively. You can space the wall screws farther apart if they aren’t load-bearing, but the spacing shouldn’t exceed 24 inches to provide adequate sheet support.
How Far Should Drywall Be Spaced?
When installing drywall, keep a ⅛-inch space between the sheets. Floors and walls expand with temperature, putting pressure on and potentially cracking the drywall. The gap also prevents drywall from wicking if flooding occurs.
How Many Coats of Drywall for a Smooth Finish?
Five coats is the ideal number for a smooth, professional finish that looks good under any lighting. You’ll need to sand each layer before adding another coat, so it’ll take much longer to complete five coats but it is oh-so worth it. Remember to ventilate the site and ensure the right temperature and humidity so each coat dries in time.
How Do I Know if My Drywall is Smooth Enough to Paint?
To check your drywall’s smoothness turn the light off and shine a bright light across the wall’s surface. It’ll accentuate any bumps, slopes, and flaws then it’ll be left to you to decide whether you’re satisfied. If you want an extra coat to smoothen it, choose a wide finishing tool to create a seamless finish.
*This post may contain affiliate links. Please see my disclosure to learn more.


