Staining plywood as a beginner brings mixed feelings because it can be tricky. If you’re like me and you don a black cloud when your projects aren’t immediately perfect, then plywood is bound to test you. On the plus side, once you master the skill of staining plywood, you become a woodworking MVP.
But why is staining plywood such a slippery process? To understand this, we first acknowledge the popular trend of using plywood for custom woodwork projects. So, plywood is a mix of veneers, adhesives, and other wood composites.
Read on as we explore the fine art of staining plywood, the different types of plywood, and some unique cheat codes to help you nail it on your first go!
Hold on – What is Plywood, Anyway?
Plywood is an engineered or manufactured wood made by bonding extremely thin sheets of wood with their grains going in opposite directions. When plywood has been prepared and packaged, it isn’t the prettiest of the bunch, but it is unbelievably strong.
Due to perks like its strength, plywood is a hot cake among construction contractors and even small-scale woodworkers and hobbyists.
Here are some quick reasons why your landlord has plywood in your drywall:
- It is extremely strong: Even though plywood is a manufactured wood, it is also as strong as solid wood. But its strength isn’t some mystery; each ply’s grain is ninety degrees relative to the next. Since plywood is layered with several of such grains, it is highly split-resistant.
- It is super flexible: Plywood is an impressively flexible material that can be easily shaped. Even during construction, when contractors layer plywood, its thickness has nothing on plywood’s flexibility.
- Plywood is impressively versatile: To put it frankly, plywood is the guy at work that can wear many hats. You’ll see it in interior, exterior, structural construction, and even product packaging. So, it is safe to say that plywood is a jack of all trades in the wood world.

Okay, But Why Stain Plywood?
Plywood isn’t really pretty, and it’s more like a beauty-on-the-inside thing. If you don’t know the impressive properties of plywood, you probably won’t choose it out of the crowd. So, people who stick beside plywood also want to add some beauty.
But aesthetics aren’t the only reason people stain their plywood. Here are a couple of benefits of staining plywood:
- Protects the wood surface: Staining birch plywood can do a world of good to the surface. For instance, the process of staining wood involves conditioning and sealing, which prevents moisture and dents from marring the surface.
- Highlights designs and details: If you’ve taken the extra step to carve or engrave designs on your plywood surface, then you probably want to see them boldly. Staining your plywood can help create a good contrast to amplify the designs.
- Repels dust and dirt: If there’s a best friend of grime, then it is untreated wood. Plywood, like any other wood surface, can accumulate dust and dirt, which sticks to the surface to create grime. Staining maple plywood seals the surface of the wood and makes it easy to wipe dirt and grime off.
Choosing The Right Stain for Plywood
So, we’ve initiated into our plywood book club and might even already have some plywood. The next time is choosing the perfect stain for your plywood. But wait – choosing plywood stain colours can be almost as intimidating as picking the freshest bread loaf; they all look the same to an untrained eye.
But that’s why I’m here. When staining plywood, you have three main options to choose from – water, gel, and oil-based stain. Here’s how to select the best stain for different plywood projects:
- Oil-based plywood stains are a woodworker’s favourite when it comes to outdoor plywood or large plywood surfaces. They are pretty easy to apply, last much longer, and have an easier cleanup process. So, I’d recommend oil-based stains if your project is big or outdoorsy.
- Water-based plywood stains are a little more tricky than oil-based stains. Sure, they dry faster, but the surface tends not to deeply absorb the pigment. Nonetheless, that downside can be a blessing when you need to wipe spillover – just use water.
- Gel-based plywood stains are simply the big boys of stains because they are a lot trickier to handle, especially by beginner’s hands. The gel is a lot thicker than water or oil stains, so it covers imperfections like a beauty foundation. Gel-based plywood stains are good for small and large surfaces as long as your hands know the drill.
Step-by-Step Guide to Staining Plywood
Good job! You’ve found the best plywood for staining and completed 50 percent of the job. Next, you need to not stain the plywood like a maniac (no shade, beginner me.
Here’s a tried and tested guide to help you stain like a master in three easy steps:
You’ll need:
- 180-grit sandpaper
- A rag or scrap cloth
- A wood brush
- Wood conditioner
- Your preferred wood stain
Step 1 [Sanding the Plywood]
We’re going to start by sanding the plywood down to slightly roughen the surface. Go in with sandpaper gently because plywood is a little delicate. After sanding, use the rag to wipe off the sawdust till you have a clean surface.
Step 2 [Clean Surface & Condition]
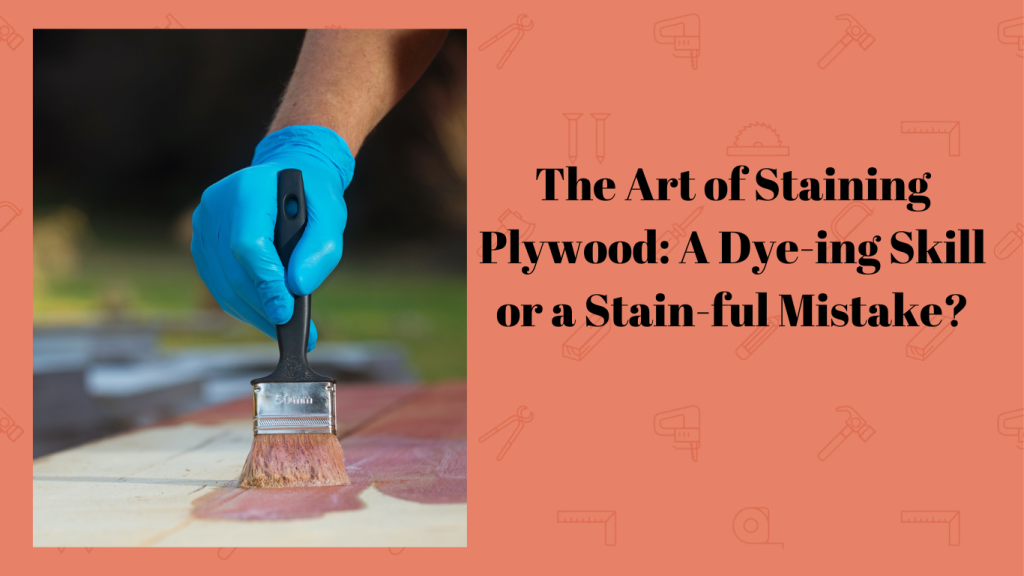
Now we have a clean surface, and it is time to prepare the plywood for staining. Whip out your conditioner and brush, and glaze over the plywood’s surface. This is where it gets a little tricky – ensure you are brushing in the same direction as the grain for maximum absorption.
Afterward, we leave the conditioner set for 15 minutes.
Step 3 [Applying Stain on Plywood]
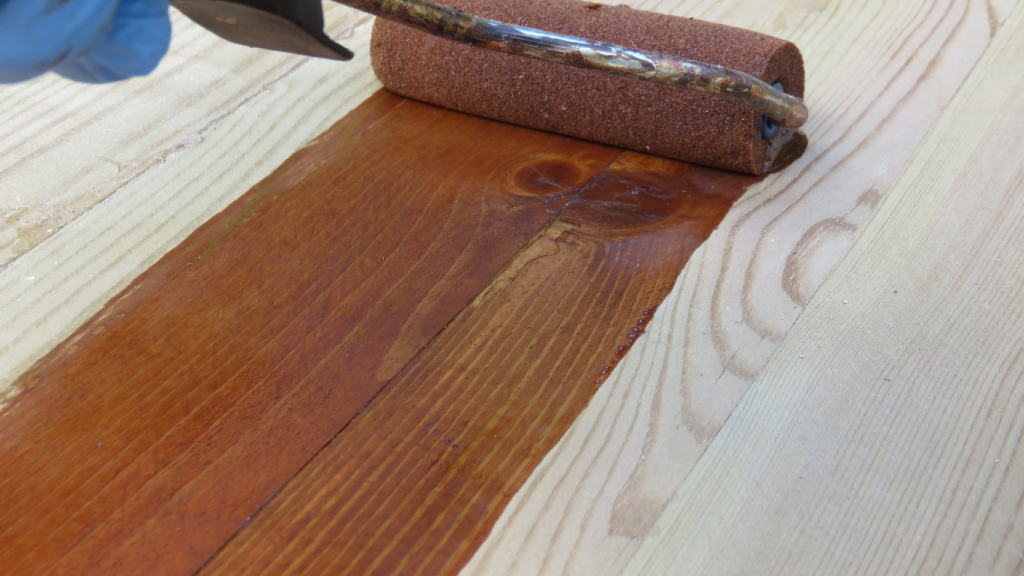
By now, the conditioner should have set, and we’re ready to stain our plywood. Following the same direction as the grain, sweep the brush over the plywood surface. You want to use gentle, even strokes to ensure a smooth distribution.
If you’ve made a mistake with excess stains, there’s no need to panic. Depending on the type of paint, a rag soaked in a water-soap solution should do the trick. Then simply rinse and repeat with the stain and brush.
Step 4 [Let the Stain Dry]
And now, we arrive at the grand finale – the drying stage. A lesson in patience, drying time is a tango between the type of stain you’re using and the number of coats you’ve applied.
Swift and efficient, water-based paints usually dry within a 2-3 hour window. In contrast, oil-based stains are the slow burners, requiring a full 4-6 hours of drying time. Gel-based stains? They take the trophy for the longest drying time. You can expect it to take between 8 to 24 hours to dry completely
When it comes to plywood, it typically takes between 24-48 hours post-staining to fully dry. So, take a well-deserved break, you’ve earned it!

Tips and Tricks for Staining Plywood
Forget it; staining plywood can be the ghetto. Whether you’re anxious or confident before the task, it is so normal to wipe and start over. Instead of beating yourself up, use these survival tips to dominate plywood staining:
- Test your skills on some scrap wood first. I’m often guilty of going into a new project without a test run and giving it when it doesn’t work my way. Don’t be like me – save resources and money by staining a piece of scrap plywood before your main project.
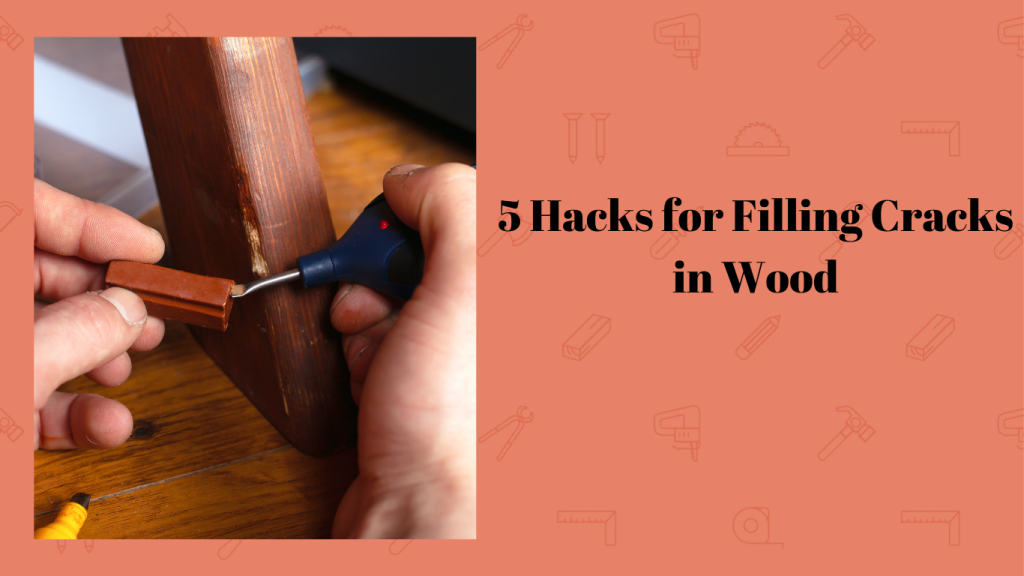
- Fill gaps with wood filler before you condition or stain. Gaps in wood are a real bummer when staining, but you can go in with wood putty to fill the cracks
- Pre-condition the wood before applying the stain. Gone is the day when we stained wood without prepping it – the difference the conditioner makes is amazing.
- Don’t stain without sanding. Sanding wood helps roughen the surface and get rid of old stains or sealants, so it is a crucial part of staining plywood without an unnecessary mess.
Frequently Asked Questions
Can All Types of Plywood Be Stained?
All types of plywood can definitely be stained. They won’t all require the same stain, but with some research, you can pick the perfect stain for your plywood project.
How Long Does it Take for the Stain on Plywood to Dry?
It typically takes 24-48 hours for plywood to drain after staining. Water-based paint will dry much earlier, followed by oil-based plywood stain. Gel-based stains always take the longest to dry.
Can I Use a Sealant After Staining Plywood?
Absolutely. Sealing plywood after staining will protect it from pests and wear and increase its lifespan. Plus, sealed wood is way easier to clean.
Let’s Wrap Up…
Plywood is the language of woodwork because it is strong, flexible, and versatile. So, all levels of woodwork and construction can agree about its importance.
Dyeing or staining plywood isn’t a talent or exclusive skill. With a detailed guide like this, some tears, and a call to your mom, you can start staining plywood like a pro in no time!
*This post may contain affiliate links. Please see my disclosure to learn more.


