To inexperienced ears, sandblasting wood is code for ripped lumberjacks carrying and sculpting unnaturally heavy logs in the scorching Southern sun. If you thought that, you’re only right about the wood part, and no woodworking hunks are involved.
Like wood filler, sandblasting wood is a cool way to scratch off blemishes, etch new prints, and restore the sheen. Sandblasting also applies to more delicate materials like glass, where it is used to create designs.
Read on as we explore the art of sandblasting wood, how it works, and some benefits of sandblasting your wood.
What is Sandblasting, Anyway?
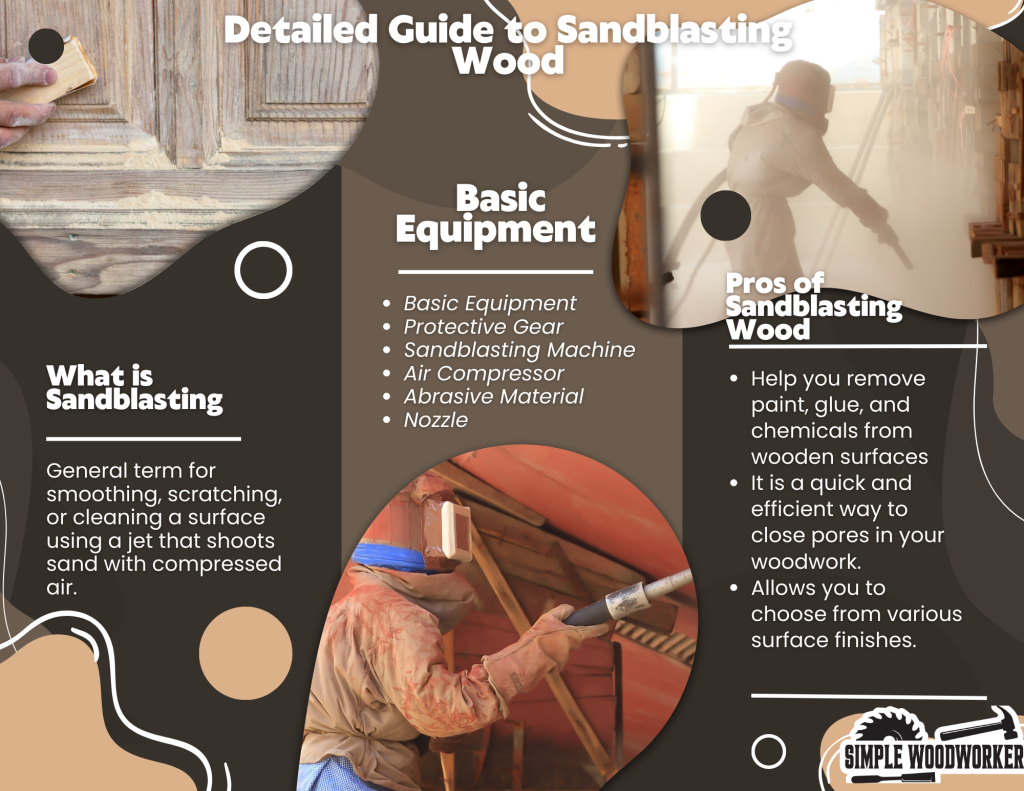
Sandblasting is a general term for smoothing, scratching, or cleaning a surface using a jet that shoots sand with compressed air. The procedure is as old as man, especially considering humankind used rocks and water to smooth tools from wood.
Initially, people only used sandblasting to abrade metal. But with time, it became apparent that sandblasting can remove paint and designs from glass and woodwork.
How to Sandblast Wood By Yourself
Thanks to the internet, everyday people like you and me can safely sandblast wood at home. Here is a step-by-step process to help you tackle your project without having the fire service called on you.
Prepare Your Site
Preparing your work site is an important part of the sandblasting procedure. Like glitter, the dust from sandblasting wood will get in anywhere and in everything, saving you for a nightmarish task for later.
Close off your work site from the rest of your home or workshop, or work outside. If you have enough cottage-core in you, try building a rig from plastic tarps. For the tarp rig, ensure the edges overlap and weigh the bottom down with scrap timber.
Dress For The Task
I can’t overstress the importance of wearing protective equipment before you sandblast furniture. It will shield your eyes, nose, and ears from flying abrasive chips and protect you from injury. Plus, wouldn’t you hate to sandblast your new pirate hook with only one eye?
Choose The Sandblasting Material
Sandblasting abrasives differ in use and much as material. They range from milder abrasives like baking soda to harsher ones like sand. Soda, however, is a highly popular and efficient material for woodwork.
Baking soda grains are as sharp as they are tiny, allowing them to smoothen wood easily, especially when fired from a pressurized nozzle. They are also water-soluble and biodegradable, bringing the cleanup closer to a mess of soda blaster wood than a quarry.
Overall, your chosen abrasive will affect the final finish, so invest time to pick the perfect match.
Setting The Pressure
Now that you’ve chosen an abrasive material, it is time to set the right pressure. Matching the pressure to the sandblasting surface is crucial because excess pressure can cause it to warp or break.
Most times, 35 pounds per square inch will do the trick. But, since the equipment plays a big part, you’ll need the manufacturer’s guide for more direction.
Always test the sandblaster on scrap material by blasting 8 inches from the surface in a back-and-forth motion. Next, inspect the finish for defects, repeating the test from further away if you aren’t satisfied.
Let ‘er Rip
Assuming you’ve nailed the perfect finish, it is time to sandblast your actual project. Pause often to check your progress, and only proceed if you are satisfied. This way, you can sniff out issues early on.
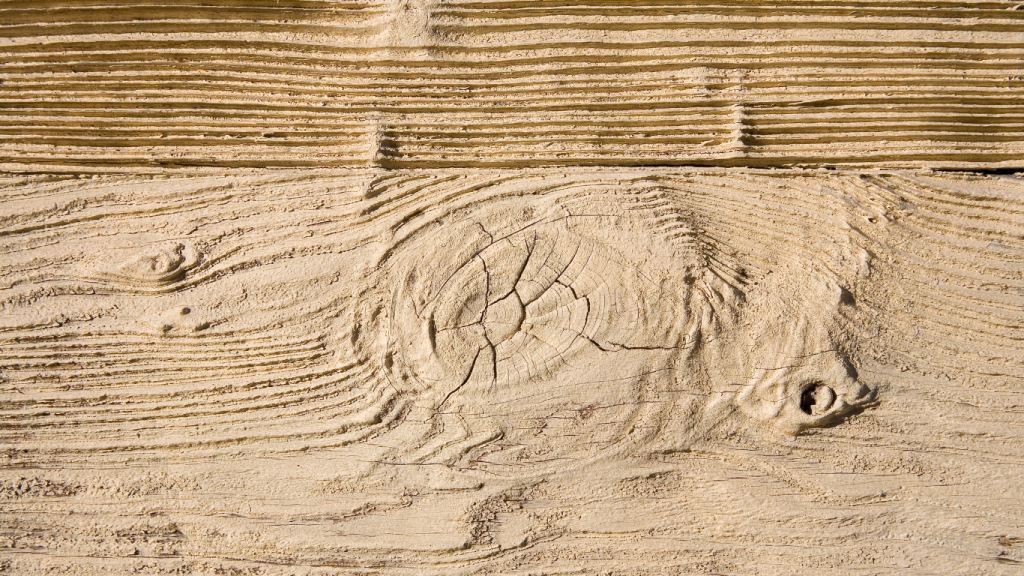
Pros of Sandblasting Wood
Asides from restoring the sheen in dull wood finishes, here are some advantages of sandblasting your wood:
- Blasting wood with sand can help you remove paint, glue, and chemicals from wooden surfaces
- It is a quick and efficient way to close pores in your woodwork. The procedure pushes fibers back into the wood and instantly closes any pores.
- Depending on the type of wood you’re blasting, sandblasting allows you to choose from various surface finishes.
Cons of Sandblasting
Sandblasting has its benefits, but it doesn’t go without disadvantages. Below are some of the downsides of sandblasting wood:
- It is extremely messy. Sandblasting requires you to use granulated abrasives, so the aftermath is usually a giant mess.
- Sandblasting can be challenging. If you aren’t an expert, you can easily overdo the sandblasting process and damage the surface. Plus, since many wood surfaces aren’t uniform, it is hard to create a consistent finish.
- Like many blasting procedures, sandblasting is extremely loud. So, your project can disturb neighbors and property occupants with the noise.
Essential Components of The Sandblasting Process
Like most other DIY procedures, sandblasting requires a unique set of equipment. Here are the tools you’ll need to embark on your first sandblasting project:
Protective Gear
Before you use a sandblaster for wood, you should have appropriate personal protective equipment. Remember that you’ll work with abrasive substances, which can enter your eyes, nose, and mouth.
Fortunately, sandblasting PPE features respirators, protective clothing, gloves, and goggles. I’d recommend the BAOMAO respirator mask because it features bonus safety glasses with fully adjustable straps.
Sandblasting Machine
Arguably the most obvious piece of equipment, the sandblasting machine, is critical to the project. There are different types of sandblasters, each achieving the same goal but following a unique process. This piece is the main body of your sandblasting tool set.
Air Compressor
The air compressor creates the magic behind the pressurized sand. It supplies air to the sandblaster, transforming ordinary sand into an effective abrasion tool.
Abrasive Material
Sand isn’t the only abrasive material used in sandblasting. In fact, it sits on the end of the spectrum for aggressive abrasion. Aluminum oxide is one of the most widespread surface preparation and blast finishing tools.
I’d recommend the Interactivia aluminum oxide, if you plan to use aluminum oxide. It’s high density and aggressive nature make it perfect for all surfaces, including glass.
Other aggressive abrasive materials are coconuts, shredded corn chips, and walnut shells.
Nozzle
Think of the nozzle as the tool that directs pressurized sand toward your working surface. Sandblasting nozzles are mainly made from boron carbide, silicon carbide, tungsten carbide, and ceramic.
Frequently Asked Questions
Can Wood be Sandblasted?
With the right tools and technique, wood can be sandblasted. You can use a sandblaster to strip stains off wood, correct faults, add print designs, and restore its sheen. In fact, wood is arguably one of the most sandblasted materials out there.
What is the Best Abrasive For Sandblasting Wood?
Baking soda is the best abrasive for sandblasting wood because it is easy to clean, biodegradable, and more delicate than sand grains. Soda blasting is also best for wood because it is unlikely to damage the surface.
What is Soda Blasting?
Soda blasting is an alternative to sandblasting that uses baking soda grains as its abrasive material. It is popularly used because of its gentle and eco-friendly nature.
Is Soda Blasting Cheaper Than Sandblasting Wood?
Soda blasting is slightly more expensive than sandblasting, but that is only because sand is more readily available.
Is Soda Blasting Better Than Sandblasting Wood?
Soda blasting is sometimes better than sandblasting, especially with surfaces like wood that require a delicate finish. Plus, soda grains are biodegradable and easy to clean up after the project.
That’s The Blast!
Sandblasting is a DIY way to renew old surfaces and make them shine again. Think of your morning coffee, except sandblasting doesn’t leave your wooden surface feeling like a fossil at only 2pm.
Sandblasting wood, like wood filling, is a practical way to maintain the function and aesthetic of woodwork. It is sustainable and fast, hopefully making up for its super loudness. If you don’t have a workshop, you’re about to regret not saying hi to your neighbor of 3 years.
Go on and make magic. Madame Tussauds has nothing on you!
*This post may contain affiliate links. Please see my disclosure to learn more.
