Wood carving ideas are a hit or miss. It is simply because they aren’t beginner-friendly. So, they have newbies starting too crazy and abandoning their projects midway.
Nearly 18 years into carving wood figurines, whittling is second nature to me. I even know how to fill cracks in wood to remedy any annoying gaps in my carving projects. But most importantly, I know 16 woodcarving patterns you can try without any experience.
Before gathering this list, I pulled out my worn-out woodworking journal. Luckily, I noted the good and bad experiences with my sculptures over the years.
Let’s get into it
16 Simple Wood Carvings Ideas You Can Start Today
1. Carve a Spoon
My first spoon took me 9 hours from start to finish, and I spread the project out over three days.
A spoon’s shape is simple, which makes it easy to sketch and carve out the rough shape. Then, you’ll hollow out the center, which is much easier if you have a hook knife.
I like to use the Morakniv double-edged hook knife because it allows me to push and pull when I work.
When you’re satisfied with the depth and shape, start shaping the handle. The idea is to make it comfortable to hold and nice to look at. So, you can use a rasp to refine any edges or unevenness.
Sanding is the key to making an “okay” wooden spoon amazing. So, spend time sanding your spoon before coating it in a food-safe finish like beeswax.
2. Carve a Walking Stick
Start by cleaning the wood and sketching your design (Pinterest is a great place to find inspiration to guide you). Then, remove excess wood with your carving knife to rough out the shape.
Work in shallow cuts to avoid damaging the wood, and gradually bring the design to life. Here, you must remember to make the handle ergonomic and comfortable to hold.
Refine your project’s shape with a file and go in with 180-grit sandpaper for a smooth surface. Then, seal the walking stick with linseed oil to give it a polished look.
3. Carve a Toy Sword
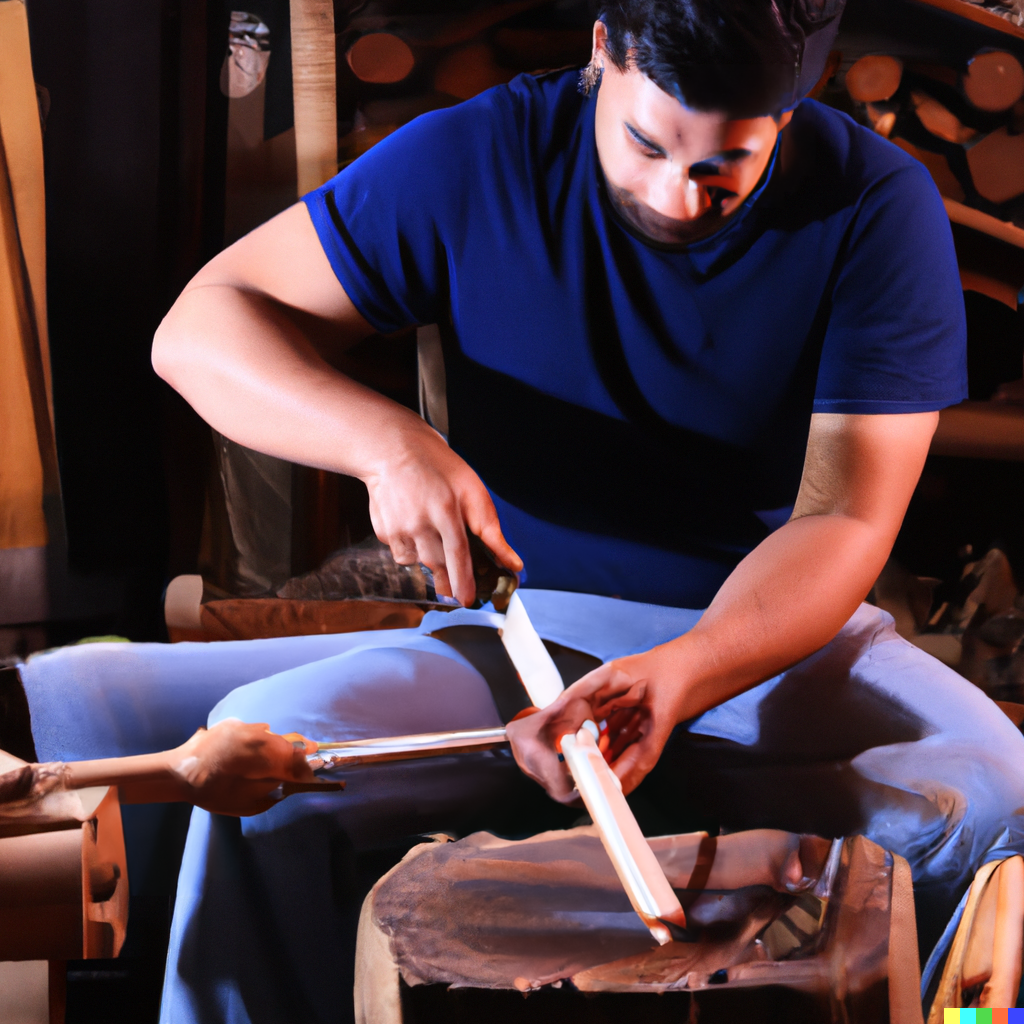
After designing the toy sword on paper, trace it onto the wood with a pencil. This will act like a stencil to minimize carving mistakes.
As you cut, remember to start with the blade first and follow with the handle. Doing it in reverse caused me to carve the wonkiest toy swords I’ve ever seen.
Next, round the edges of the handle with your craving knife and go in with 80-grit sandpaper. Using finer grits, you’ll work your way up to 220-grit sandpaper to achieve a polished look.
4. Carve a Mushroom
When carving a mushroom, make sure your wood is thick enough to create the cap. Then, carve and hollow it out to create the typical concave of mushrooms.
Next, start shaping the mushroom’s stem to look like your design inspiration. I always do the thick stem design of king oyster mushrooms, but yours can look however you like. There are no perks of thick mushroom stems.
After carving the stem, it’s time to add details like grooves, textures, and pores. These bits will help you create a realistic carving before you sand and stain.
5. Carve a Flower

When carving flowers, you should always start with the petals. Use your carving knife to shape the petals with shallow cuts.
Before getting to the stem, add all the flower’s details. Ridges and veins will give the petals more texture, while pistils and stamens add realism. Now, you can shape the flower’s stem.
When you’re satisfied with the design, use 180-grit sandpaper to smooth the edges and use 220-grit to refine the flower’s surface.
6. Carve a Cat
As a rule, highly detailed sculptures require bigger wood blocks. So, consider the cat’s shape, posture, and expression before you start any knife work.
Next, transfer the design onto the wood and use a carving knife to rough out the shape. As you cut, refine the cat’s head, legs, paws, and tails with a rasp.
I always recommend the Tarist 3-piece rasp set to my students because of its assortment of shapes and sizes.
Make it a habit to stop occasionally to correct any unevenness. I found that taking short breaks allowed me to see and correct the sculpture with fresh eyes.
7. Carve a Fork
Start by transferring your fork design onto the wood and outline its overall shape.
The trickiest part of carving a fork is nailing the prongs. So, you should pay close attention to the spacing and symmetry. Remember to round the prong’s tips so that they aren’t edged (You can omit this bit if your design has pointed tips).
Next, carve out the handle to your desired shape and thickness. So, you should aim for the most comfortable feel of the fork as you cut.
Finally, sand your fork with 220-grit sandpaper and seal in beeswax or linseed oil.
8. Carve a Fox
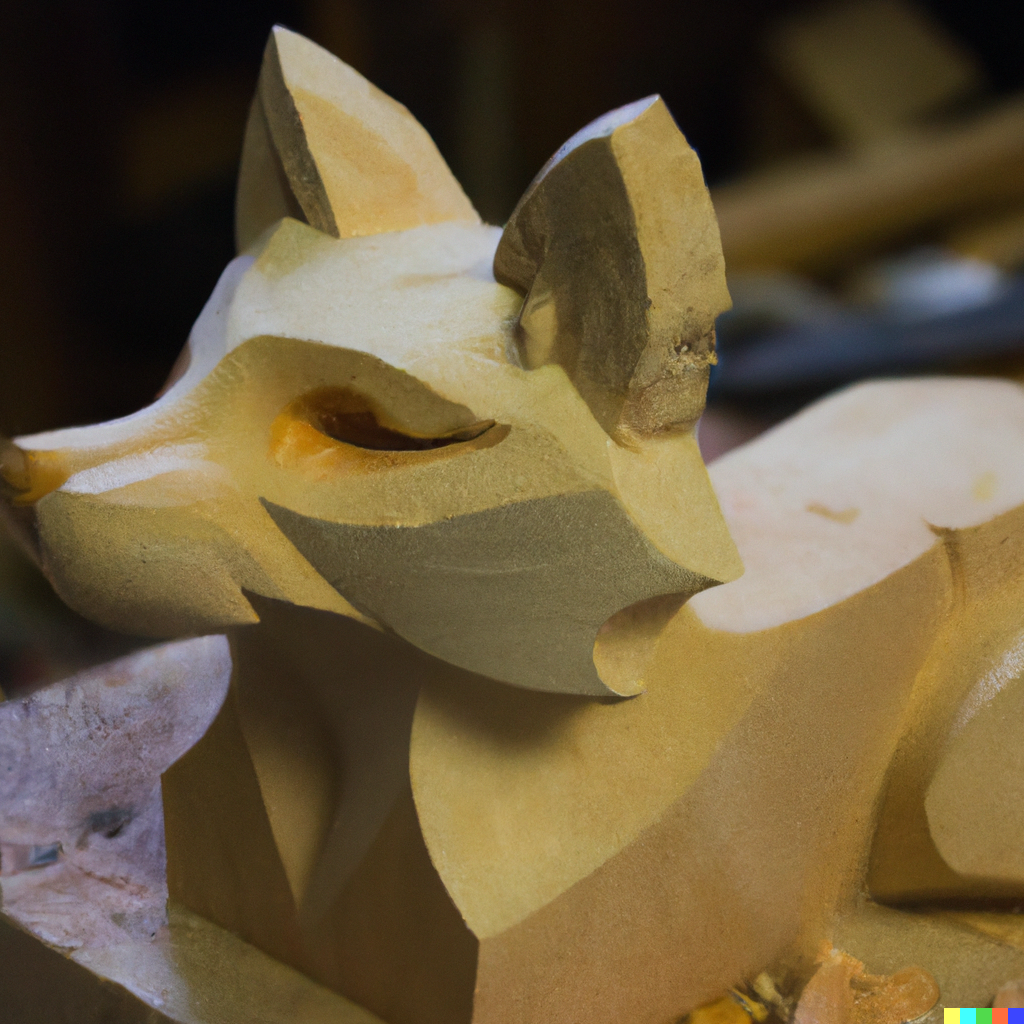
One great tip for carving a wooden animal is to research its anatomy. This will help you get a good idea of the level of detailing you’ll need to add.
Start by aligning the fox’s basic features, like the head, legs, and tail. Then, add the facial features like eyes, nose and mouth.
Now, go in with your carving knife to remove excess wood along the outline. Then, add realistic details like fur and claws to add your wooden fox realism.
Sand with coarse grits and follow up with finer grits until you achieve a refined look.
9. Carve a Rabbit
Transfer the rabbit sketch onto your wood and outline it with your carving knife. Then, use light strokes to carve the head, ears, legs, and tail.
Next, use a gouge to rough out the rabbit’s body. You’ll be using pressure to scoop excess wood, so be careful not to damage the design.
Now, it is time to add the rabbit’s facial features and realistic details like the paws and tail. After carving, go in with sandpaper to get a smooth finish.
10. Carve a Gnome
Sketch your desired gnome design on paper, making sure you mind the gnome’s face, hat, and clothing. Then, use a carving knife to trace the outline on your wood surface.
Next, use a carving knife or gouge to remove all the excess wood. As you carve away, pay attention to your initial design. I’ve had to change designs at the last minute because of some absentminded cuts.
Now, add your gnome’s delicate features like his eyes, nose, mouth, and beard. Then, add texture to his clothes with creases and crinkles.
Use a rasp to refine the carving’s edges and sand it for a polished finish
11. Carve a Butterfly
Carving a wooden butterfly needs a delicate hand. That’s why I recommend softwoods for carving butterflies and pretty much any beginner wood carving ideas.
Start by transferring the sketch to your wood surface and tracing it with a gouge. Then, work on the wings and antennae, making sure they match proportionally.
Next, add patterns and texture to the wings. Before carving, you can use Pinterest to get your creative juices flowing. Then, refine any edges and contours so that your butterfly looks realistic.
Always use good quality wood stains for your carvings. I know this beautiful golden oak wood stain that is perfect for household ornaments and decorations.
12. Carve a Fish
Trace your fish’s side profile onto the wood and outline it with your carving knife.
Then, use a gouge to cut away the excess wood around the outline. This should give you a very rough fish-shaped block to detail.
Next, use a carving knife to whittle your fish’s features onto the block. Here’s where you’ll add its eyes, mouth, gills, and scales.
When you’re satisfied with the detailing, use a rasp to refine any edges or split wood. Now, go in with a fine-grit sandpaper to buff your wooden fish.
13. Carve an Elephant
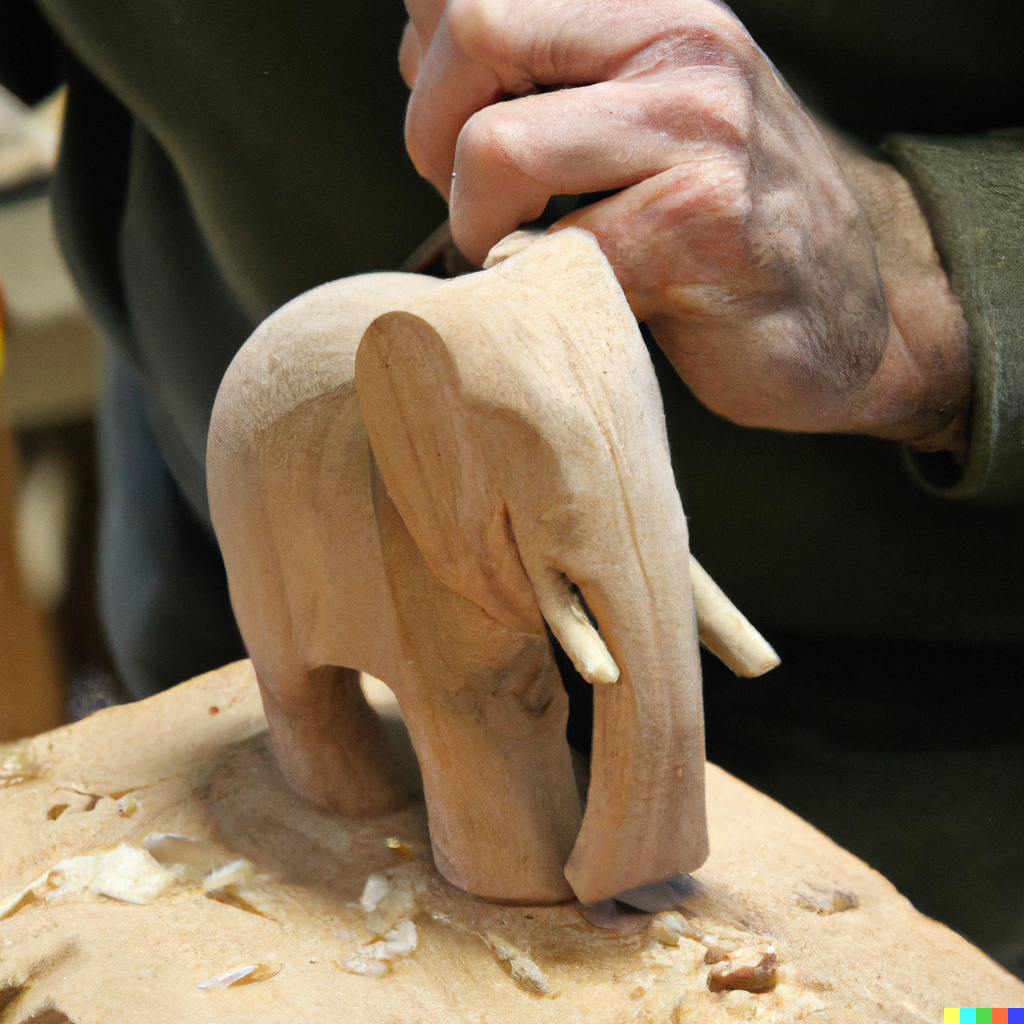
When carving a wooden elephant, start with the trunk and ears. This will help you create a body that fits the ears instead of a disproportionate body.
You should only start cutting after transferring the sketch to the wood. Then, use a carving knife to outline the sketch and remove the excess wood.
When you reach the rump, use shallow stop cuts to make the tail stand out. Then, start rounding the rump and back to the elephant’s center.
Remember to add toenails and wrinkles to the legs to make them lifelike. Then, finish off with the eyes and teeth to add depth.
14. Carve a Pawn
The pawn is one of the simplest wood carving ideas I have tried. It’s the easiest chess piece to carve, and it takes about 5 hours from sketch to finish.
Start by cutting a cylindrical block for the body. Then, use the push-cut carving technique to engrave details into the pawn’s head. Then, use shallow cuts to shape the body and bottom.
For precision, I like to segment my pawns into three parts: the head, center, and bottom.
After carving, use 220-grit sandpaper to polish your wooden pawn for a smooth finish.
15. Carve a Bird
After tracing your design on the wood, start outlining the bird’s body with your carving knife. Now, you want to focus on the general contours by working your bird’s curves.
I prefer using veiners to cut into details like feathers since they give me longer cuts. Next, start adding the facial details like the beak and eyes. Remember to make shallow cuts with your carving knife to avoid damaging the design.
Add the finer details of your bird, like toes and feather lines. I always spend time on this part to bring my bird to life.
Now, you can sand and stain your bird to suit your design
16. Carve a Handwritten Letter
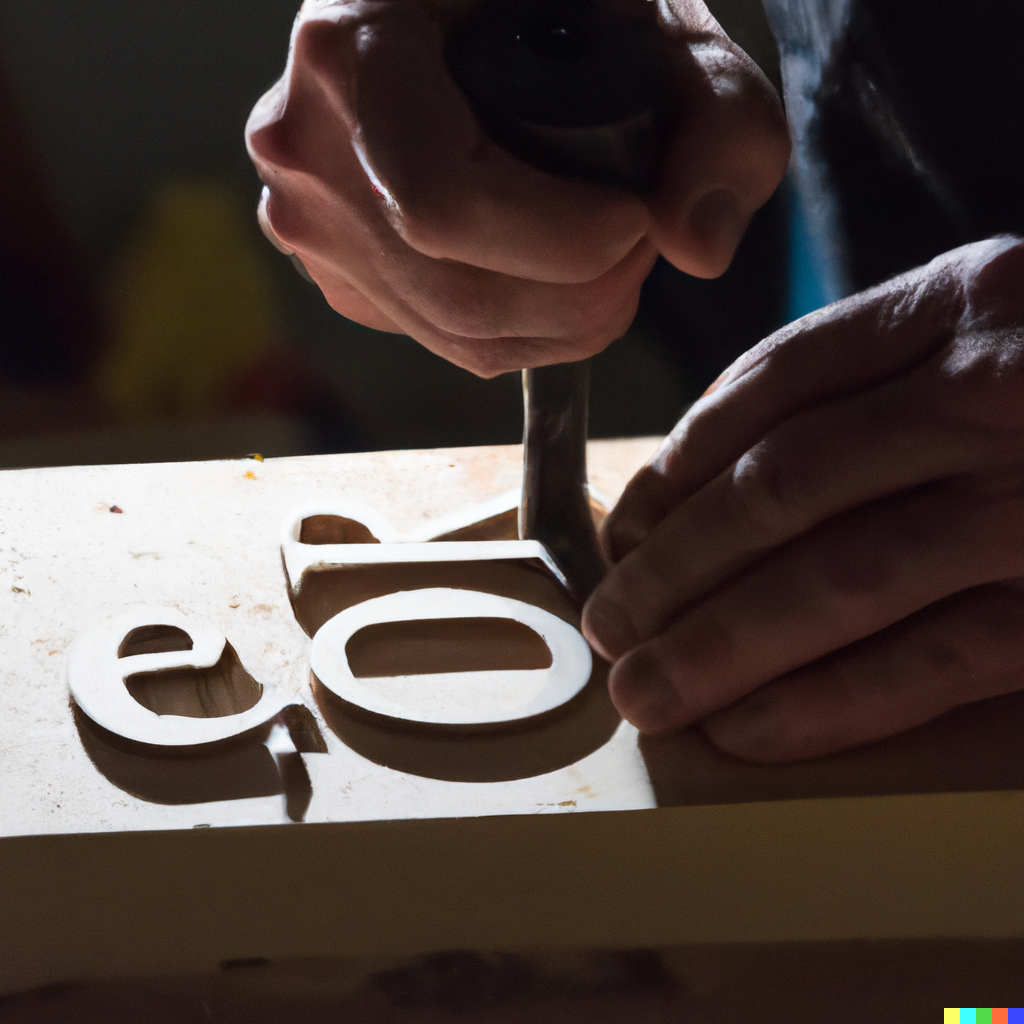
Carving a handwritten letter is a beginner-friendly task that can occupy you for a long time.
Use a pencil to trace your letter design onto the wood slab. Then, go in with a chisel and a rubber mallet. The trick is gently to shave off the wood as you trace the letters’ surface.
After outlining the letters, use 220-grit sandpaper to refine the edges and finish with clear polyurethane.
Necessary Tools for Creating Your Own Wood Carving Ideas
As you progress with your new wood carving skill, you’ll need more professional tools. But for easy wood engraving ideas like I’ve listed above, here are the necessary tools:
- Carving knives
- Chisels
- Gouges and veiners
- Rubber mallets
- Sandpaper
The Big Idea
To be perfect at wood carving, you must first be bad at it. These 16 ideas are the perfect blend of ease and challenge to help you learn and improve.
I’ve created a comprehensive wood carving guide to help beginners learn the basics of the craft in simple terms. I also explain the best wood carving techniques there, so make sure you check it out!
Which of these wood carving ideas would you be trying first? Tell us why in the comments, and gift this guide to a fellow woodwork hobbyist!
Frequently Asked Questions
What is The Easiest Thing to Carve From Wood?
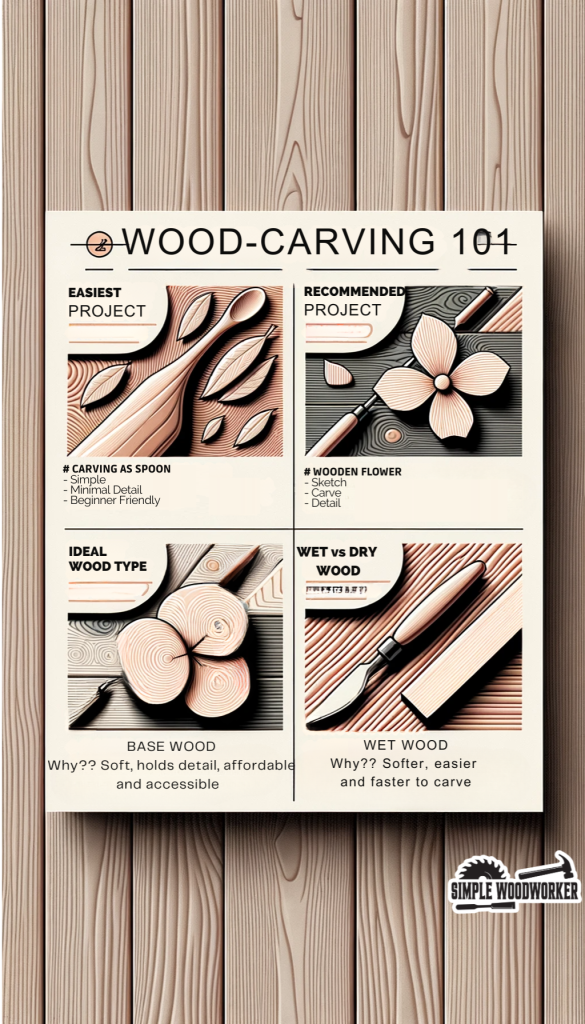
The easiest thing to carve from wood is a spoon. It is simple enough for a total beginner and requires the least detailing. Plus, carving a wooden spoon doesn’t require any fancy tools aside from a beginner-friendly wood carving set.
What is The Best Wood Carving for Beginners?
The best wood carving for beginners is the wooden flower. It is easy to sketch and (depending on your design) won’t take you weeks. Carving wooden flowers is also a popular DIY assignment to help you perfect your whittling. This is because different flowers pose an interesting challenge when carving and detailing.
What Type of Wood Should I Use for Wood Carving?
You should use basswood if you’re new to wood carving because it is easiest to cut. Its soft surface holds detail well, which is a bonus for lighthanded wood carving ideas like carving a butterfly. Basswood is also cheap and accessible. I see it every time I go to my local hobby shop.
Is it Better to Wet or Dry Wood for Carving?
It is better to carve on wet wood because it is softer. Your carving knife will cut through wet wood much easier and faster than dry wood.
*This post may contain affiliate links. Please see my disclosure to learn more.
