Painting over stained wood is 100% possible with the right prep. Stained wood usually has a protective layer of top coat, creating some hindrance for your new paint job. Luckily, I know a method to paint over stained wood without dust or sandpaper.
I’m a veteran woodworker with a home full of carved, cut, and stained woodwork I made myself. I revamp my pieces into new designs and purposes by stripping them and using the best white stain for wood. However, I occasionally find myself painting over stained wood when renovating my home’s furniture.
It took me years to master the hacks I teach my readers. Now, together with my woodworking journal, I’ve outlined 7 crucial tips for painting over stained wood. I’ve also added the no-sand method just in case sanding isn’t possible for you.
7 Tips for Painting Over Stained Wood With Sanding
Know Your Surface
Identifying your workpiece is the first step in painting stained woodwork. Factors like the stain type, top coat, and wood species will determine your success.
I lightly scrape the surface with a woodworking knife to check for a wax finish, and that’ll tell me if I need to use the sander. If there’s no wax coating, I’ll dip a cotton ball in rubbing alcohol and wipe it along the surface. If the stain lightens in color, I know it’s a water-based stain because oil-based stains don’t react to alcohol at all.
Clean
A cleaning treatment prepares the surface to absorb the paint best, and I use a scouring pad and rubbing alcohol to remove any dirt and contaminants. If there’s a wax layer, I take a rag and turpentine and wipe firmly in the grain’s direction.
Can you paint stained cabinets?
You can certainly paint stained kitchen cabinets. It just needs thorough prepping to remove layers of grime, grease, and smoke. I mix a squirt or two of grease-cutting soap into boiling-hot water and use a scrubbing brush to strip the grease.
Sand The Surface
After cleaning, I sand the wood to dull any leftover varnish or stain on the wood.
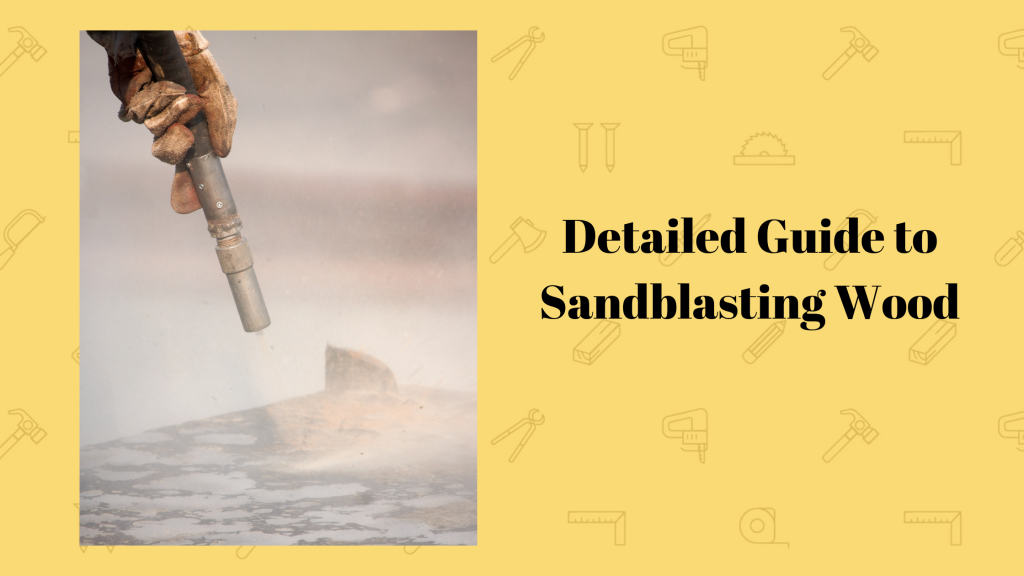
If using sandpaper, I use 180 grit to scuff the surface before using fine grit to smooth any rough spots. However, you can also use a deglosser if you want a dust-free alternative. I favor liquid deglosser for intricate or decorated pieces because it helps me preserve the designs.

Seal Gaps or Cracks in Wood
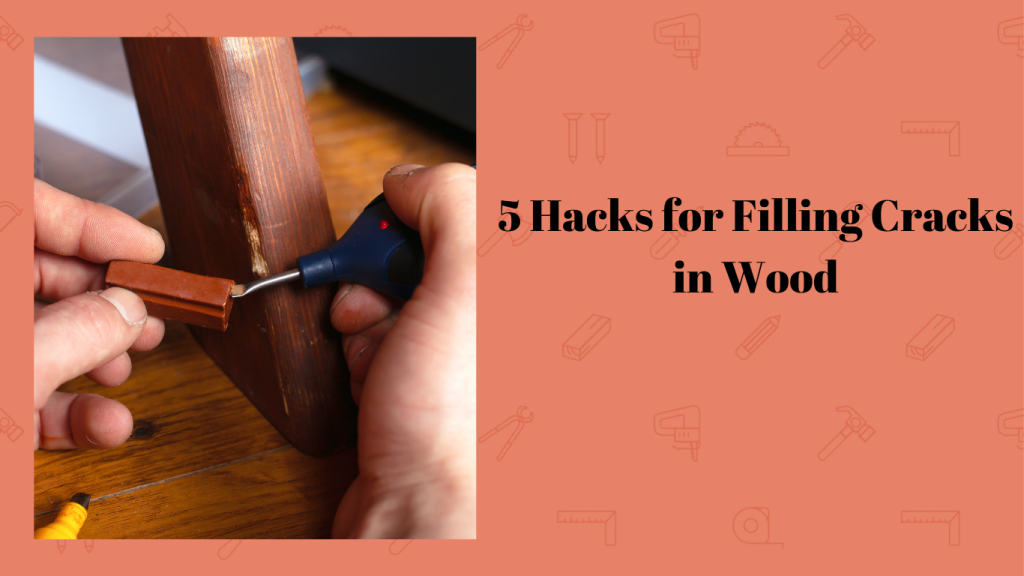
Next, I want a flawless, uniform surface so I whip out the wood filler.
I squeeze it into the hole or spoon it in with a putty knife, making sure to overfill the hole slightly due to shrinkage. When it dries, I sand it down with 180 grit till the entire surface is uniformly flat.
Prime The Wood Surface
Primer fills the wood grain and creates a smooth surface for you to paint on, not to mention boosting the new paint’s durability.
There are different types of primer tailored to raw, stained, distressed wood, and more. I use the Rust-Oleum Stain Blocking Primer for stained wood to prevent old stains from bleeding into my paint. When you’ve coated the surface in an opaque coat, let it dry and move on to the next step.
Time to Paint
For maximum coverage, I apply two coats of paint to my wood and allow the first to dry before recoating it.
Water-based paint dries quicker than oil-based ones, but this also causes its brushstrokes to stand out easily. However, oil-based paints have high VOCs but offer higher durability overall. Both paint types stand out in different areas, so I make my choice based on my project’s location and urgency.

Seal With a Topcoat
Sealing your newly painted wood makes the surface harder and more durable, not to mention waterproof. However, you’ll need to choose an appropriate top coat for your project. If you’re sealing kitchen cabinets, for example, you’ll need to use a food safe wood sealer to avoid the pungent fumes.
Flawlessly Finished
Painting over stained wood appears much harder than it is. It follows a similar process to wood staining, except with extra prepping to remove the previous stain. So, you can easily revamp your old stained furniture at home and with easily sourced equipment.
Painting wood isn’t the only part of wood furniture restoration – not when pesky screw holes are involved. I’ve dedicated a guide to teaching you four effective methods of filling screw holes in wood, so be sure to check it out.
Frequently Asked Questions
Can I Paint Stained Wood Without Primer?
You can paint stained wood without primer but the previous stain will likely bleed into the paint. Primer also helps to seal the wood’s pores and imperfections, creating a blank canvas for your new paint. Bare and sanded wood soaks paint like a sponge, so priming is also an effective way to get the most from your wood paint.
What Primer to Use Over Stained Wood?
The Rust-Oleum Water-based Primer is what I use on all my furniture. Its water-based formula spreads effortlessly and it is pigmented enough to cover the wood’s stains and pores in one coat. It also works for concrete and metal, so it belongs on every DIYer’s shelf.
How Do You Remove Stains From Wood Before Painting?
You can use sandpaper or liquid deglosser to remove stains from wood before painting. If you’ll use sandpaper, start with coarse grits like 60 and 40 and work up to a fine grit sandpaper like 220. I prefer using deglosser for delicate or decorated furniture to avoid damaging a design. Deglosser is also perfect if you like to avoid dust in your project.
What Kind of Paint Do You Use on Stained Wood?
Once you have adequately prepped your wood surface, you can use various paints like milk paint, chalk paint, and all-in-one paint. You should only become strict when choosing paint for special areas like floors and kitchen cabinets. For instance, you’ll need non-skid paint to ensure surefooted on outdoor floors and low-odor paint to avoid fuming up the kitchen.
*This post may contain affiliate links. Please see my disclosure to learn more.


