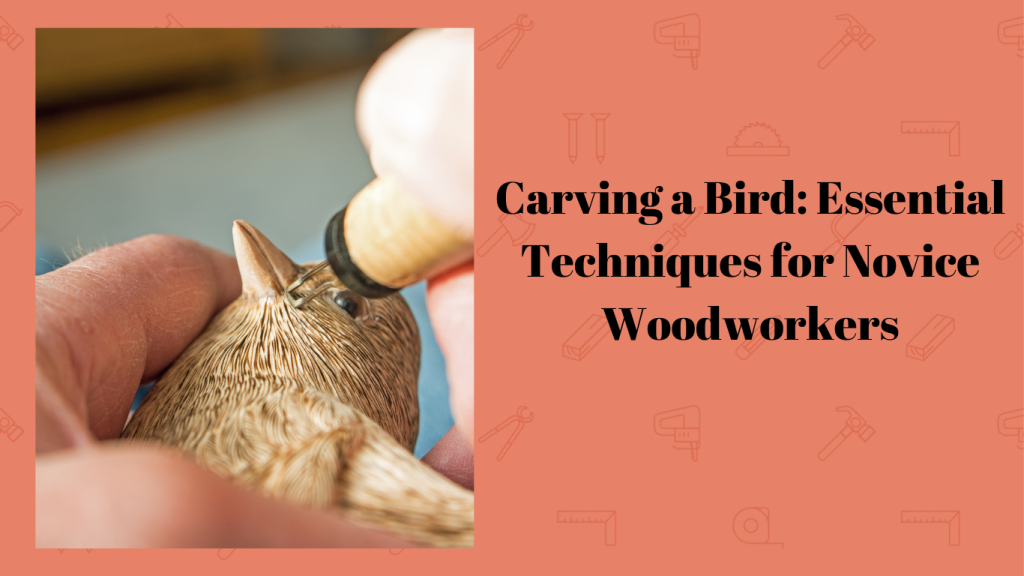
Carving a bird is one of the most popular beginner projects out there. It challenges your methods, patience, and attention to detail, which are the three most essential aspects of wood carving. Most wood carvers, like me, ended up with a nightmarish blob on our first try, so a not-so-clean birdie is a universal experience.
Wood carving for beginners isn’t necessarily about talent. Instead, it is a joined effort to learn, master, and perfect your carving craft with different techniques. But woodworking is a skill where beginners don’t get a lot of attention, so newbies often miss vital tips and tricks.
Read on as we explore some useful techniques for carving a bird, as well as a step-by-step guide to help your carving win all the oohs and ahhs.
Essential Tools for Carving a Wooden Bird
Like other highly detailed woodwork, carving a bird requires only the finest tools. You can’t use just any set of wood carving knives; here, you take out what you put in. If you use the wrong chisel or gouge, your bird’s beak can get mistaken for a horn.
Here are the essential tools you’ll need when carving a wooden bird at home:
- Sandpaper to smooth out the wood and get rid of fibers and markings
- A whittling knife for sculpting the bird’s body
- A detailing knife to engrave details and designs on the wooden bird
- A veiner or v-tool for adding depth and texture to the birds
- Gouges and chisels for removing wood chunks and adding details
- Sharpeners for maintaining the edges of the blades
Choosing the Right Wood for Carving a Bird
If you know a thing about woodwork, it’s that wood differs like bird species. Some are better suited to carving, and others work better as household hardwood floors. And you don’t want to use the wrong wood for your first wood bird to minimize errors.
Butternut and basswood blocks are a carver’s favorite because they are soft, easy to sculpt, and have a nice grain. But some people can make it work with other kinds of wood, scraps included. Whichever wood you choose, make sure it isn’t knotty or full of twisted grain patterns.
If you want to start slow and build up your pace, you should try using pre-cut bird carving blocks. They have the rough outline of a bird, so your job is to give the bird shape and details.

Step-by-Step Guide to Carving a Wooden Bird
Without a guide, making hand carved birds is often harder than it should be. Now that we know the needed tools and wood, it’s time to get to work.
Follow this step-by-step guide to turn your block of wood into a friendly bird:
Step One: Prepare The Template for Carving a Bird
Every kickass wood carving starts with a template. I like to use templates from the Victorinox Swiss Army Knife Whittling Book and even scour the internet for designs. Once you’ve chosen your design, print and transfer it onto your basswood block.
Step Two: Prepare Your Tools and Cut, Cut, Cut
With a design in mind, all you need is a set of whittling tools. The Poliwell 22PCS Wood Carving Kit is my go-to because it contains all the needed knives, chisels, and gouges. Plus, the kit comes with extras like gloves, polishing compound, and no-cut tape.
You’ll be working with a bigger block than your design, so work your way down to the carved wooden ducks with gentle strokes.You want to avoid overcutting and excessive force here. Remember to leave enough wood for intricate details like the bird’s tails and wings.
Step Three: Carving and Shaping The Birdie
Our basswood block should’ve started looking like a bird (or dinosaur), and it’s time to bestow it as a species. Slow down with your knives and check regularly with the template to ensure your sculpture is on track. Pay attention to the bird’s proportions, and make sure all the details fit naturally.

Finishing Touches: Sanding and Painting Your Wooden Bird Sculpture
The key to finishing your wooden bird lies in nature, and if you look around, you can make a bird even macaws would envy.
Here are some expert finishing tips you can use to get people wondering if you make wooden bird carvings for sale:
- Start sanding with 150-grit sandpaper first and follow up with 180-grit and 220-grit sandpaper. This order allows you to sand gently and remove fibers or dents.
- Apply pre-stain conditioner on the wooden bird sculpture with a high-quality before painting to allow the wood to absorb stain evenly
- Mimic a real bird’s colors when staining to allow you a framework when working
- Layer on a coat of topcoat after staining to preserve the look and feel of your artwork.

Safety Tips for Wood Carving
Like any skill involving knives, wood carving has its fair share of risks. Blunt and sharp knives do just about the same damage because a blunt knife makes the carver apply more force. One wrong move and some misplaced force later, you can find yourself in the doctor’s workshop.
Here are a couple of safety tips you can use around the workshop to keep your fingers intact:
- Sharpen your blades regularly to maintain them and avoid accidents from blunt-force
- Wear personal protective equipment like goggles to protect your eyes from stray wood chips, especially if you are power carving
- If you’re using a wired dremel, turn off the power before changing the bits
- Use cut-resistant protective gloves to avoid knife injuries
- Keep a clutter-free workspace to give you a clear head and avoid appliance accidents
Frequently Asked Questions
What is the Best Wood for Carving Birds?
The best wood for carving birds is basswood because it is soft and easy to work with. You’ll often find wood carvers of all levels using basswood in their projects.
How do I Start Carving Wood as a Beginner?
You only need a basswood block and a decent carving set to start carving wood as a beginner. With a comprehensive guide like this and a bit of dedication, you’ll be carving flamingoes in no time.
Can I Use a Dremel to Carve Wood?
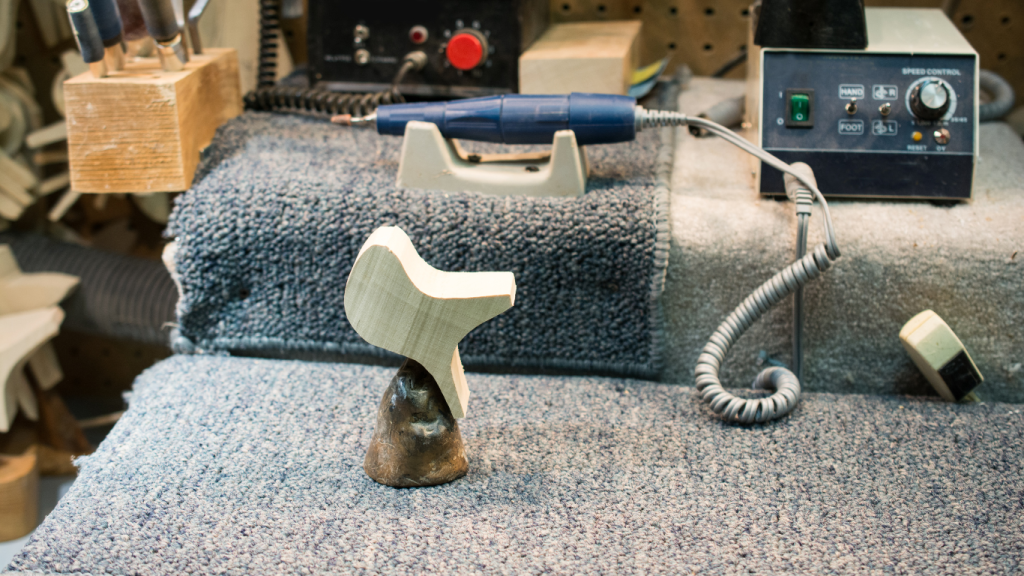
You can certainly use a dremel to carve wood. While it isn’t a conventional method, it can definitely speed things up for a quick project. I use the Dremel 7350-5 Rotary Tool Kit because it is cordless and portable, so I can carry it with me.
How Long Does it Take to Carve a Wooden Bird?
Depending on the complexity of your wooden friend, it can take anywhere from a few hours to a few days. But you shouldn’t focus on the duration; instead, enjoy the process as you exercise patience and practice.
Are there any Recommended Books or Resources for Wood Carving?
There are several books on wood carving, but they aren’t all beginner-friendly. But the Victorinox Swiss Army Knife Whittling Book hasn’t failed me yet. It is easy to understand, and it contains 43 fun whittling projects ranging from beginner to sensei-level.
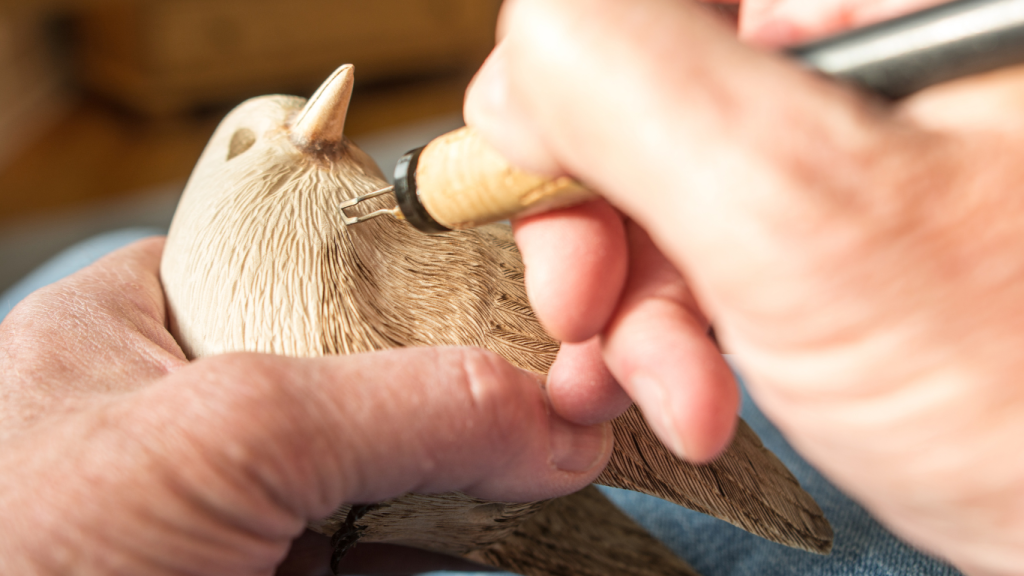
Inspiring Wood Carving Artwork Examples
Voila! You’ve completed your first project of carving a bird. Wood carving isn’t just a pastime. It is also a form of self-expression, and history has seen some of the most inspiring wood carving artworks.
While you might not make complex designs at first, you shouldn’t underestimate the power of consistent practice. Remember that wood carving is supposed to be fun, so cut yourself slack as you whittle away!
*This post may contain affiliate links. Please see my disclosure to learn more.
